Alerts create logon config
CYBERQUEST’s alerting module is fully customizable for each connected user. Alerts can be triggered by user-defined events, allowing the system to respond precisely to specific scenarios.
This flexibility ensures high accuracy and helps minimize false alerts, providing reliable notifications tailored to each user’s needs.
Authentication
To access the CYBERQUEST Web Interface:
-
Open a web browser and navigate to the application's address or DNS name
-
The default address format is: https://CyberquestIPAddress (replace with the actual IP address)
-
The browser will redirect automatically to the CYBERQUEST authentication page.
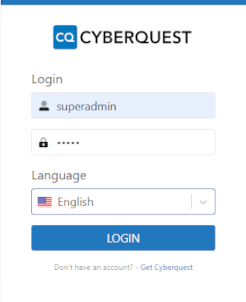
Note: Valid credentials with the appropriate permissions are required to create and manage alerts.
Navigate to Alerts Module
-
From the main navigation menu, click on Settings
-
In the Settings menu, select Alerts > Realtime
-
The Realtime Alerts page will open, displaying all existing alert definitions
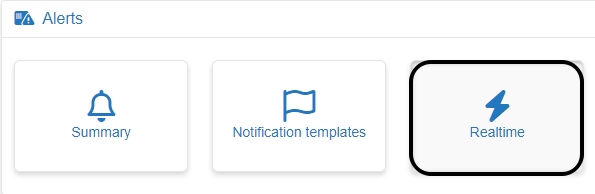
The Realtime Alerts page provides options to view, edit, delete, and create alert definitions. Each alert can be customized to meet specific security requirements.
Create New Alert Definition
-
On the Alerts page, locate and click the "CREATE ALERT" button
-
This opens the alert configuration interface for defining a new alert.
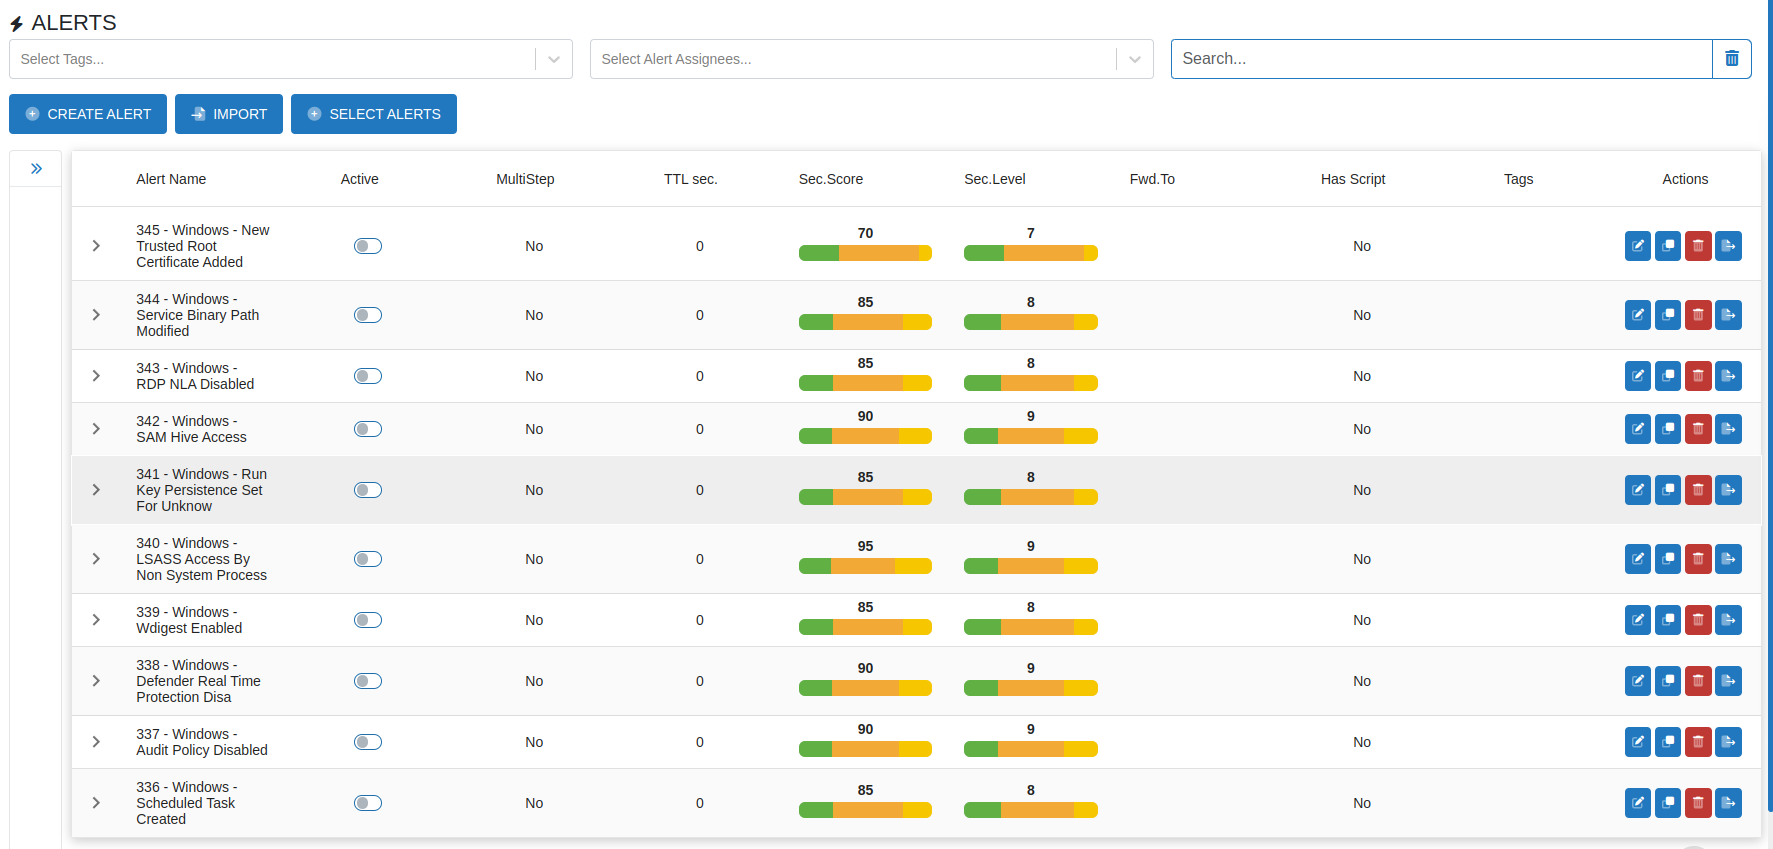
Clicking this button opens a comprehensive configuration form to specify alert parameters, rules, and notification settings.
Configure Alert Settings
The alert configuration interface provides several key sections:
Basic Alert Configuration
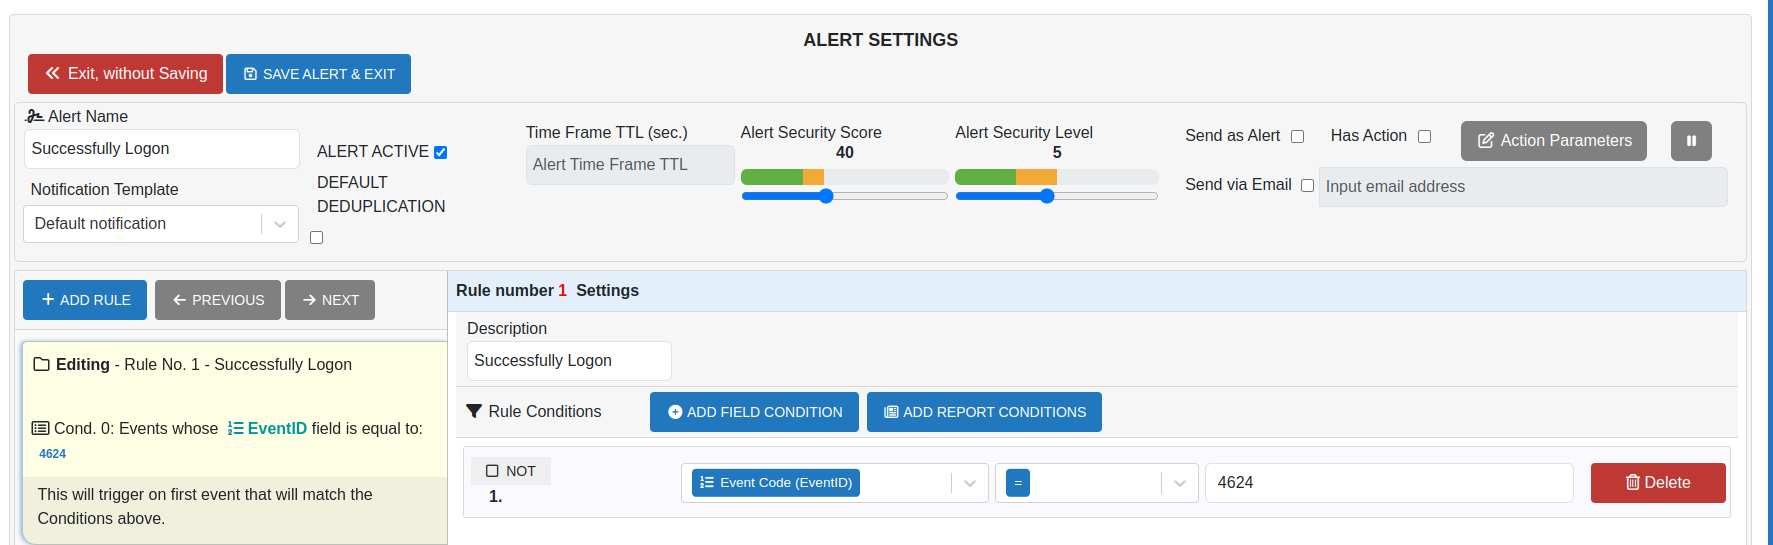
Alert Name: Enter a descriptive name that clearly indicates the alert's purpose
Alert Active: Selecting the Alert Active checkbox enables the alert, while clearing it deactivates the alert without deleting it. Disabled alerts remain in the system but do not trigger notifications.
Sent as Alert: The Sent as Alert checkbox functions similarly to the Alert Active option. When unchecked, the alert remains active but does not generate visible notifications. This setting allows backend processing and correlation of anomalies across multiple events, triggers, and alerts.
Has Action: The Has Action checkbox enables the association of a script with the alert. After selecting it, press the Action Parameters button to open the Script Editor, where a custom script can be created and applied as a rule for the alert.
Notification Template: The Notification Template allows selection of either built-in or custom templates for alerts. The Default template provides standard formatting, while custom templates can be created to suit specific audiences or use cases.
Rule Settings: The Rule Settings pane provides tools for defining alert logic. Rule logic consists of field, report, and correlation conditions linked using the logical operators AND, OR, and NOT.
-
Description: Provide a clear, concise description of what the rule monitors
-
Add Field Condition: The Add Field Condition option allows specifying a condition based on an event field. Select a field (e.g., EventID, UserName, SrcIP), choose a comparison operator (equals, contains, greater than, etc.), and enter the value to match.
-
Add Report Condition: The Add Report Condition option allows using an existing report as a condition. This is useful for applying pre-defined, complex queries within alert logic.
-
Delete: Remove individual rule conditions that are no longer needed
When adding a rule condition, a logical operator is automatically applied to connect it with the previous condition. The default operator is AND, which can be toggled to OR by clicking the operator button. Clicking again switches it back to AND.
If needed, a NOT operator can be applied using a checkbox. By default, NOT is unselected; click the checkbox to apply the operator and invert the condition.
-
AND: All conditions must be met for the alert to trigger
-
OR: Any condition can trigger the alert
-
NOT: Excludes specific conditions
After configuring an alert, review all settings and click Save Alert & Exit to save the alert definition. The alert will appear in the Alerts list.