How to delete data from Data Storage
Create a Delete job to remove events from a data repository. This can be useful for freeing up storage space used by obsolete applications or cleaning up imported data.
Follow the steps below to create and configure this type of job:
Authentication
To access the web interface, open a browser and enter the application's IP address or DNS name. The default address initially assigned to the web interface is: https://CyberquestIPAddress (example).
The browser automatically redirects to CYBERQUEST's authentication page:
Navigate to Settings
Navigate to Settings > Jobs and select Jobs.
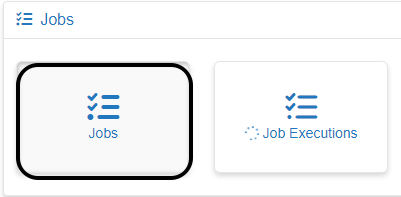
This page displays all job types that have been configured in the CYBERQUEST application.
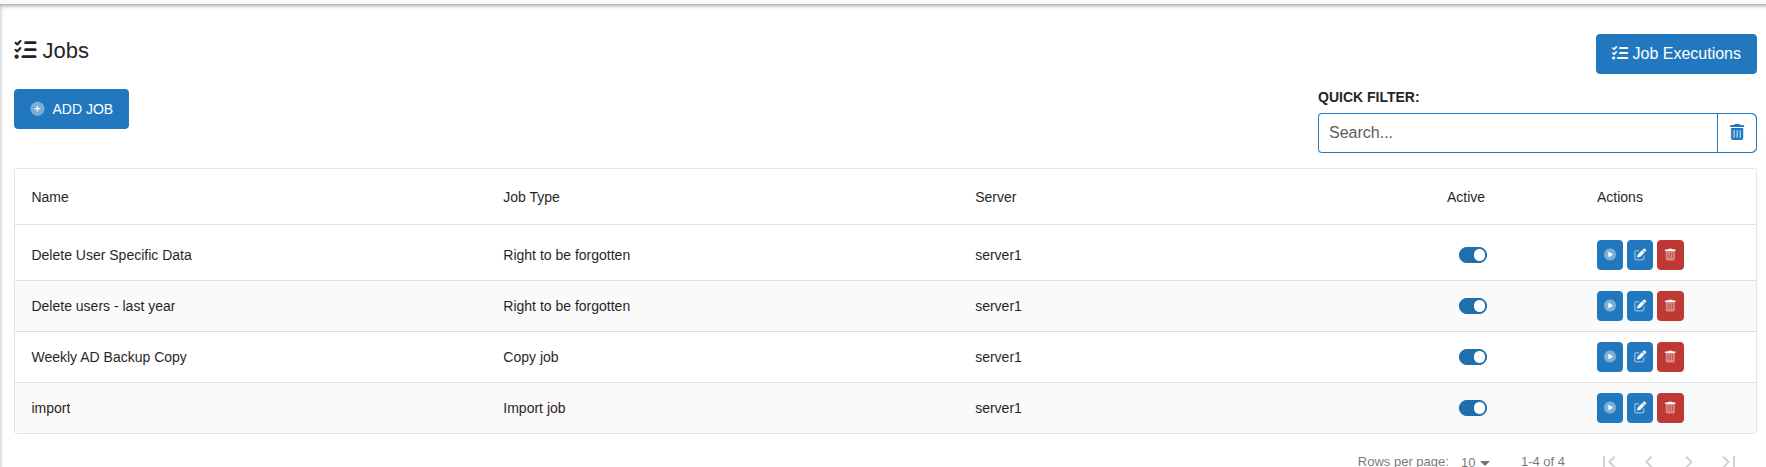
Edit Job: Click Edit  button to modify an existing job. The editing process is almost identical to adding a new job.
Start Job: Click Start Job  button to execute the job immediately. You can track its progress and status on the Job.
Delete Job: Click the Delete button  and confirm to permanently remove the job.
Active/Inactive: Use the toggle  to enable or disable the job without deleting it.
Create a delete job
Click ADD JOB to open the configuration page for creating a new delete job.
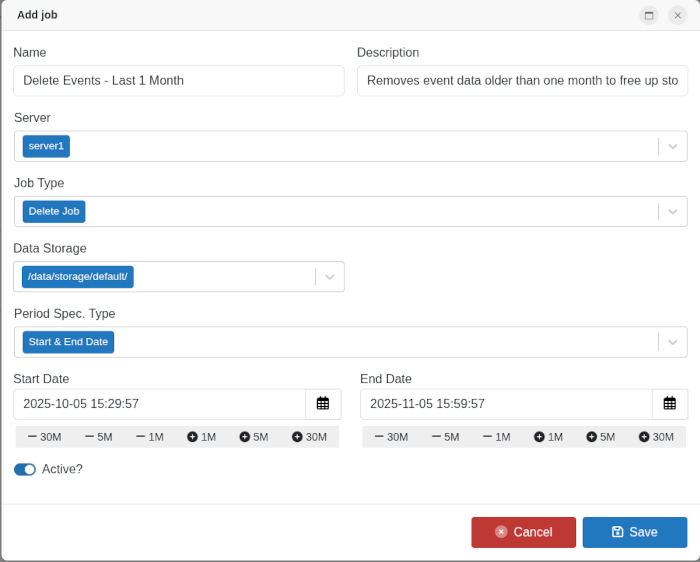
- Name: The display name of the job as it appears in the Jobs list.
- Description: A brief summary of the job's purpose or function.
- Server: The data server where the job will be executed.
- Job Type: Select the type of job to run.
- Delete Job: A job that removes events from a repository based on the specified time period, helping to free up storage or clean up outdated data.
- Data Storage: The offline storage location that contains the data to be processed.
-
Matching Patterns: Is used to search in data storage for all information matching the criteria.
-
Period Spec. Type: Defines the time range of the data to be processed.
-
Start Date / End Date: Set a specific time window for data copying.
-
Last 'x' units: Define a rolling time frame (e.g., last 1 months).
-
Active: Enables or disables the job.
When finished, click "Save" to apply changes or "Cancel" to discard.
Start Job: Click Start Job button to execute the job.

Verify the job execution
Open Job Executions from the Jobs page to confirm completion and review counts.
