Documentation
Guided Setup
Guided Setup
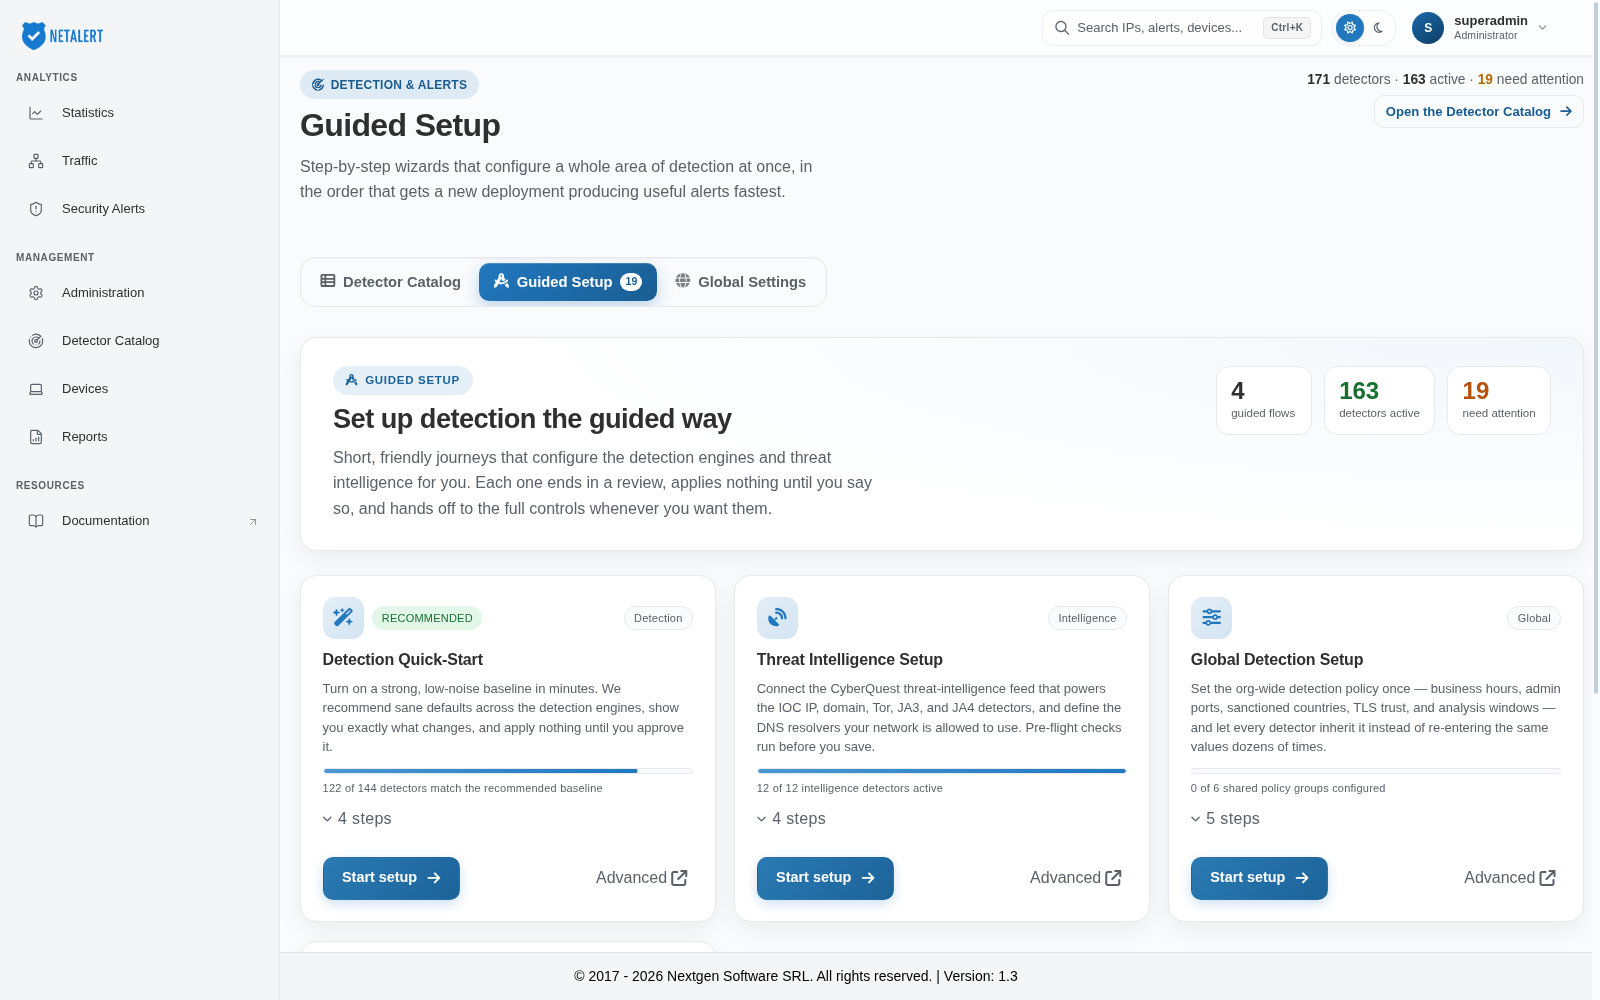
Guided Setup is the second tab of the detection hub, alongside Detector Catalog and Global Settings. It provides short, guided journeys that configure the detection engines and threat intelligence, so a new installation can be brought to a useful state without visiting a dozen separate administration pages and knowing in advance which values matter.
Navigate to Administration > Detection & Alerts > Guided Setup, or open the Detector Catalog from the left sidebar and select the Guided Setup tab. The tab shows a badge with the number of detectors that need attention.
Every flow follows the same contract, which is worth knowing before starting one:
- It ends in a review step that shows exactly what will change.
- It applies nothing until you approve it, so a flow can be explored safely and abandoned.
- It hands off to the full controls at any point - the Advanced link on each card opens the underlying administration page, and nothing configured by a flow is hidden from it. The advanced page shows your saved settings, not values you have entered in an unfinished flow.
- Closing a flow you have started asks Discard this guided setup? first, because anything entered but not yet applied is lost.
The counters at the top of the page show how many flows are available, how many detectors are currently active, and how many need attention. Open the Detector Catalog, at the top right, returns to the catalogue.
Each flow is shown as a card with a short description and, where it applies, a progress bar. Click the steps toggle on a card (for example 4 steps) to list the flow’s steps, and click Start setup to begin. If a flow cannot read the current settings when it opens, it shows an error with a Retry button instead of a form.
The four flows
Detection quick-start
Turns on a strong, low-noise baseline. It proposes sensible defaults across the detection engines, shows precisely what would change, and applies nothing until approved. Its progress bar reports how many detectors already match the recommended baseline.
Steps: Scope → Recommended defaults → Review → Apply
This is the flow to run first on a new installation. “Low-noise” is the important part: enabling every detector at its most sensitive setting produces an unusable volume of alerts, so the baseline deliberately favours detections that are trustworthy enough to act on.
Threat intelligence setup
Connects the CyberQuest threat-intelligence feed that powers the IOC IP, domain, Tor, JA3 and JA4 detectors, and defines which DNS resolvers are sanctioned. The Test step runs pre-flight checks against NETALERT before you save. These checks do not contact the feed itself, so a successful result does not prove that the feed address and API key work; the review step records the result as Passed (feed not contacted). Running the checks is not required in order to save.
Steps: Feeds → DNS resolvers → Test → Review
Those detectors compare observed traffic against a list of known-bad indicators, so without a feed they are active but have nothing to match - one of the main causes of the Needs attention count in the Detector Catalog.
Global detection setup
Sets the organisation-wide detection policy once - business hours, administrative ports, sanctioned countries, TLS trust and analysis windows - and lets every detector inherit it, instead of the same values being entered separately dozens of times. Its progress bar reports how many of the shared policy groups have been configured.
Steps: Business context → Threat policy → TLS trust → Analysis windows → Review
NETALERT does not ship a list of sanctioned countries: which countries to enforce is a policy decision for your organisation. The country list starts empty, and leaving it empty writes no country policy.
This is the flow that resolves most Active but not configured detectors at once. A detector that reports activity outside business hours cannot fire until business hours are defined, and defining them here configures every detector that depends on them together.
Alert delivery & notification
Sets up alert email: the SMTP sender, the recipient mailbox, and the severity, impact and alert-type filters that decide which alerts are emailed. The Test step sends a real test message to an address you enter, so you can confirm delivery before anything is saved. If you cannot send a test (for example, the mail server is not yet reachable), select Save without a passing test to continue to the review step anyway.
Steps: Sender → Recipient → Routing → Test → Review
The routing filters matter as much as the mail settings. Emailing every alert regardless of severity is the quickest way to ensure the messages stop being read, so the routing step exists to restrict delivery to what genuinely warrants attention.
Recommended order
On a new installation, running the flows in this order produces a working configuration with the fewest revisits:
- Detection Quick-Start - establish the baseline of what is enabled.
- Global Detection Setup - supply the shared context that many detectors depend on.
- Threat Intelligence Setup - connect the feeds the indicator detectors compare against.
- Alert Delivery & Notification - decide what gets emailed, once the detections are sound.
Afterwards, return to the Detector Catalog and check the Needs attention counter: anything still listed there needs configuration that the flows did not cover, and can be addressed from the detector’s own entry.