Documentation
Black / White List
Black / White List
Blocked / allowed list
The NETALERT solution provides the ability to manage traffic by categorizing entities into Blocked or Allowed lists. This lets you control network activity and generate appropriate alerts for security and monitoring purposes.
Key Features:
Allows specific MAC addresses or IP addresses to be monitored separately.
Ensures quick detection of unauthorized or suspicious traffic.
Works in conjunction with pre-defined security policies and threat intelligence.
Blocked list (restricted IP categories)
Traffic originating from any IP addresses present in the Blocked List will trigger alerts within the NETALERT solution.
Categories of Blocked IPs:
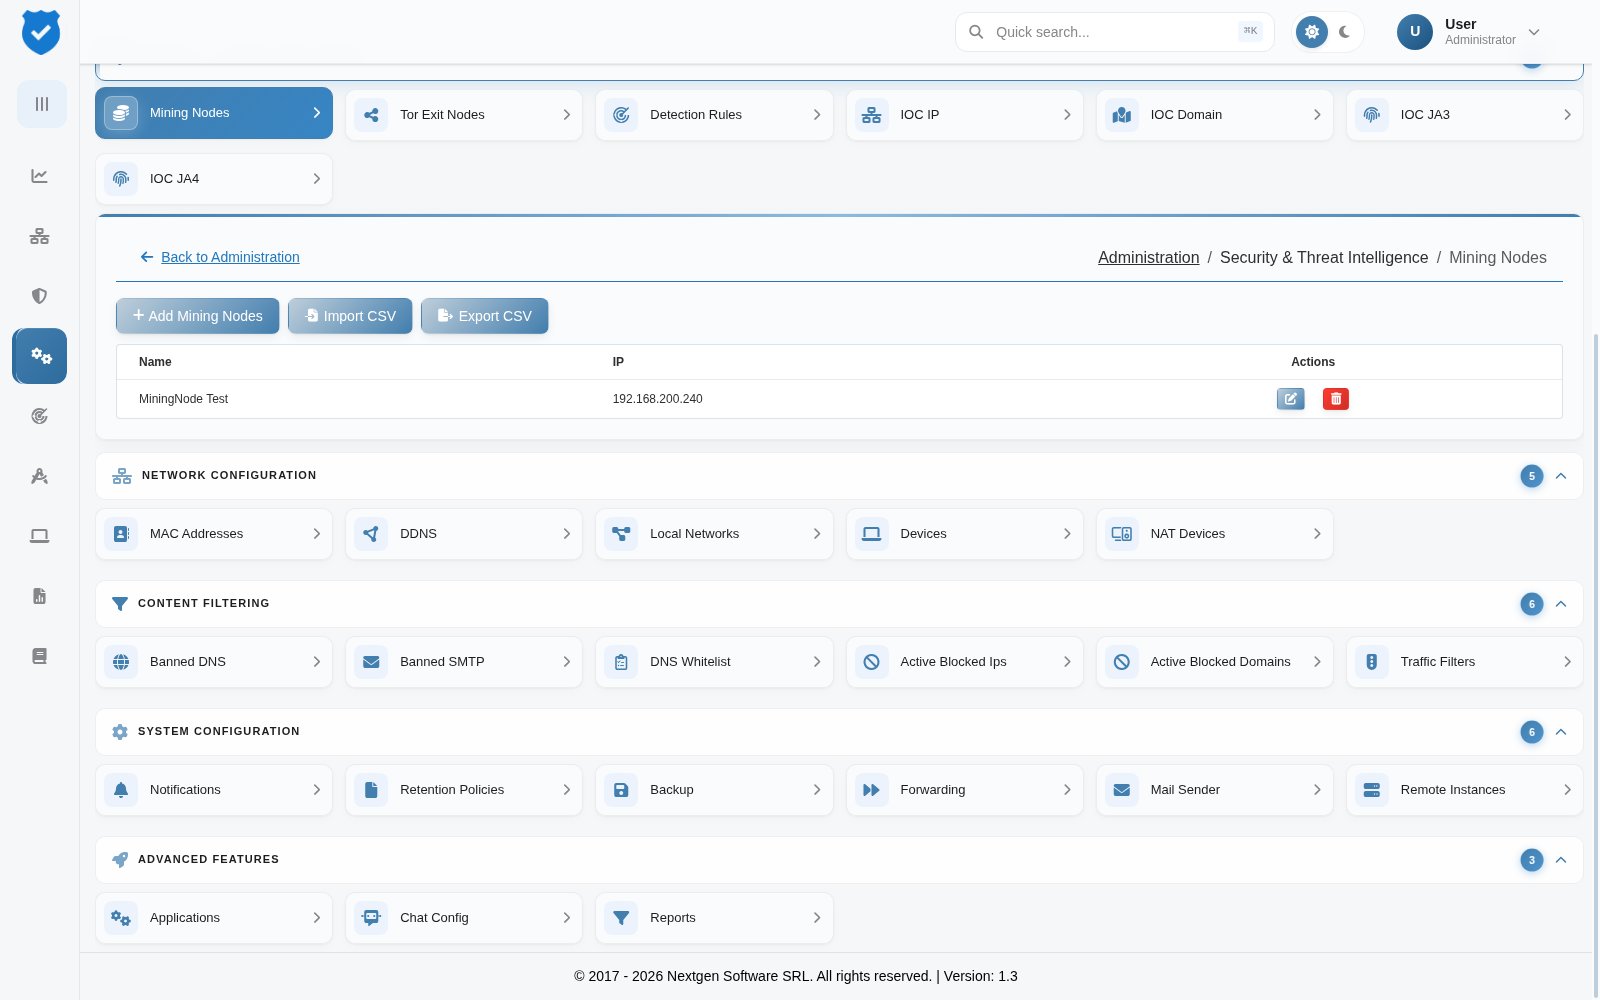
1.Mining Nodes – Known IPs involved in cryptocurrency mining, which could impact network performance.
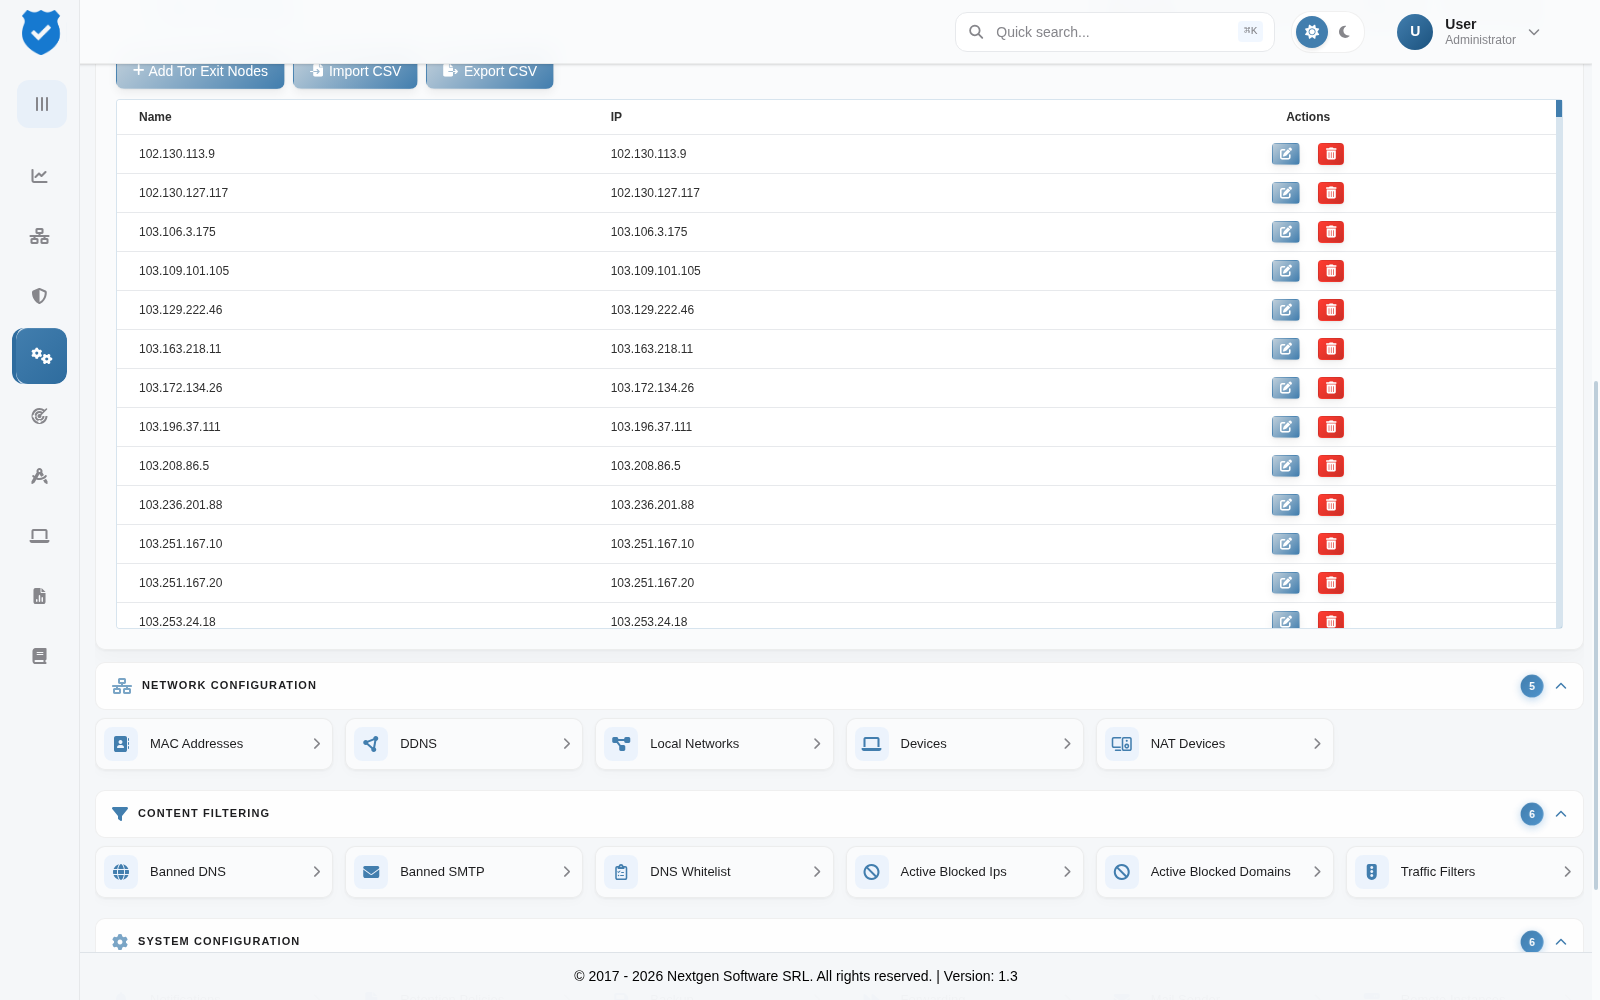
2.Tor Exit Nodes – Traffic from these nodes can indicate anonymous browsing or potential malicious activity.
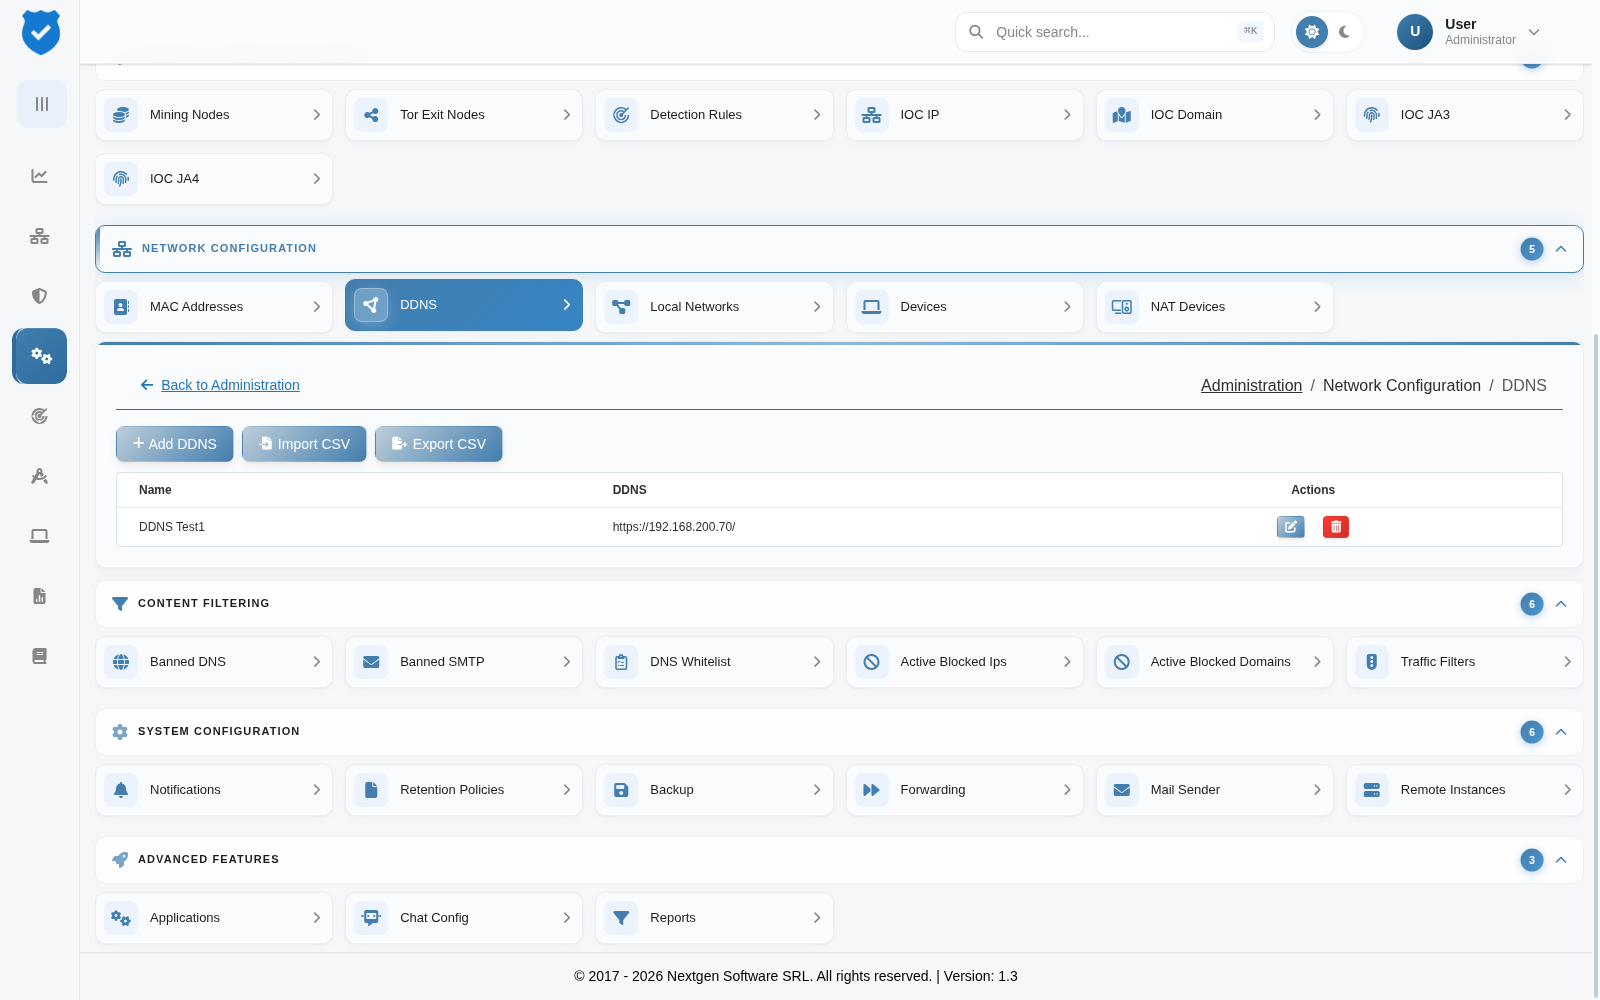
3.DDNS IPs – Dynamic Domain Name System (DDNS) IPs often associated with evasion techniques.
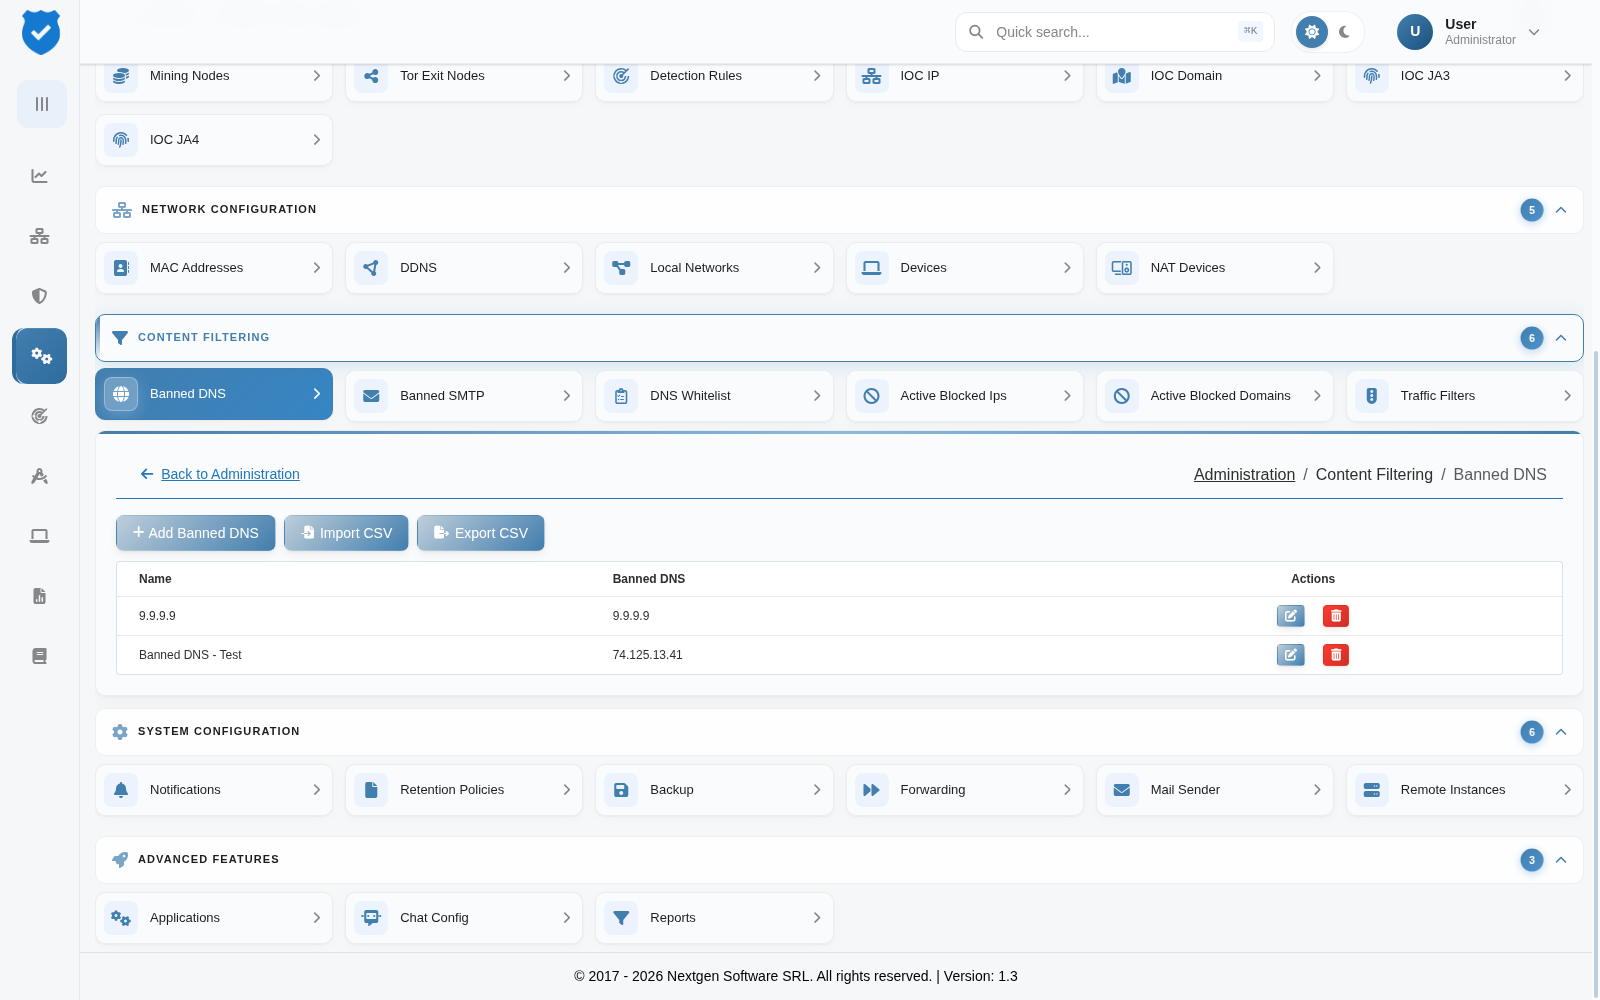
4.Banned DNS IPs – Includes blacklisted Domain Name System (DNS) addresses.
5.Banned SMTP IPs – Blocks email traffic from known spamming sources.
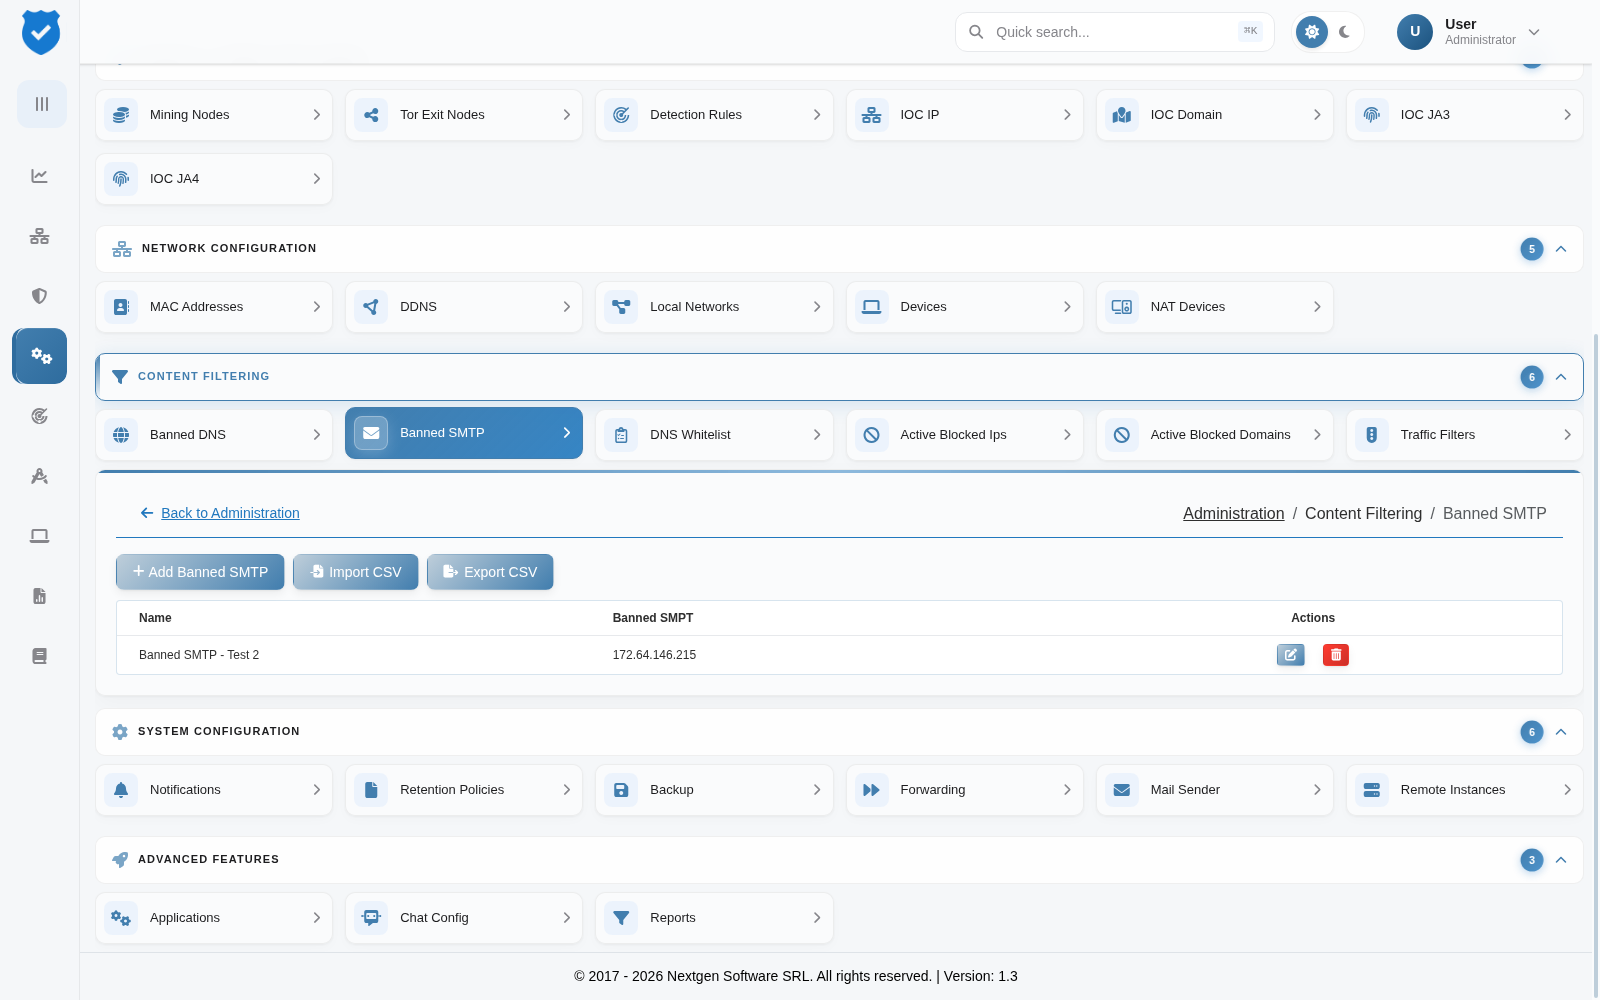
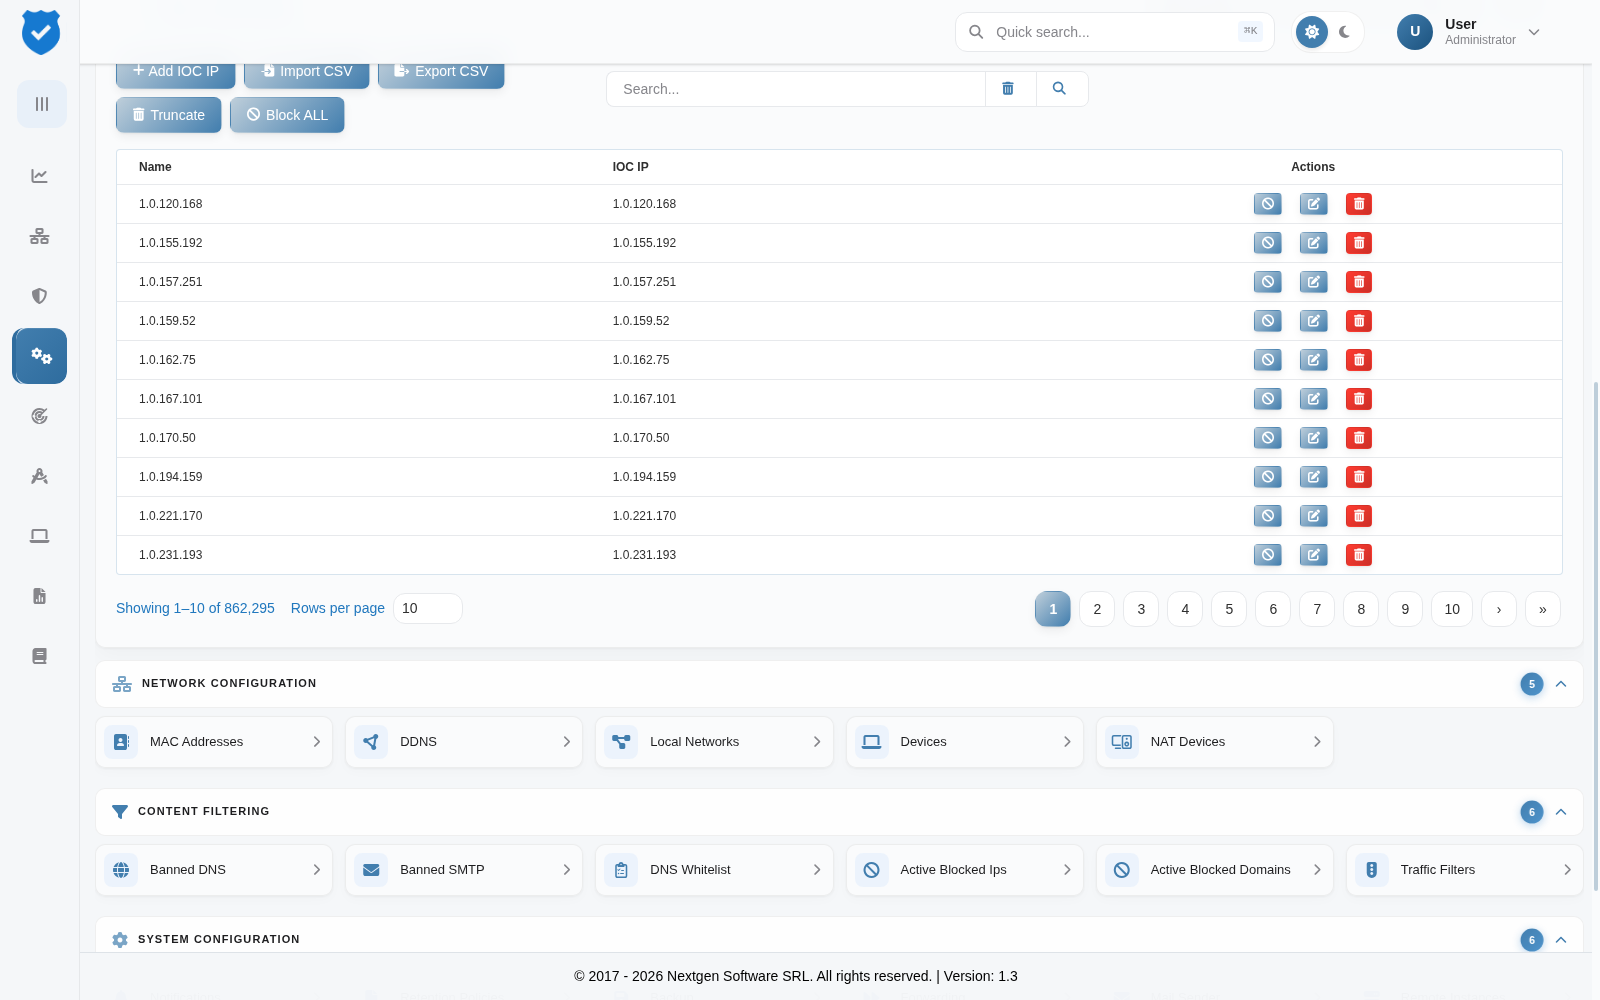
6.IOC IPs – Indicators of Compromise (IOC) IPs linked to malware, phishing, or cyber threats.
Setting up the lists
MAC list (devices for special monitoring)
Use this feature to track specific devices within the network based on their MAC addresses. By adding MAC addresses to a monitoring list, you can analyze the traffic separately and receive alerts if unusual activity is detected.
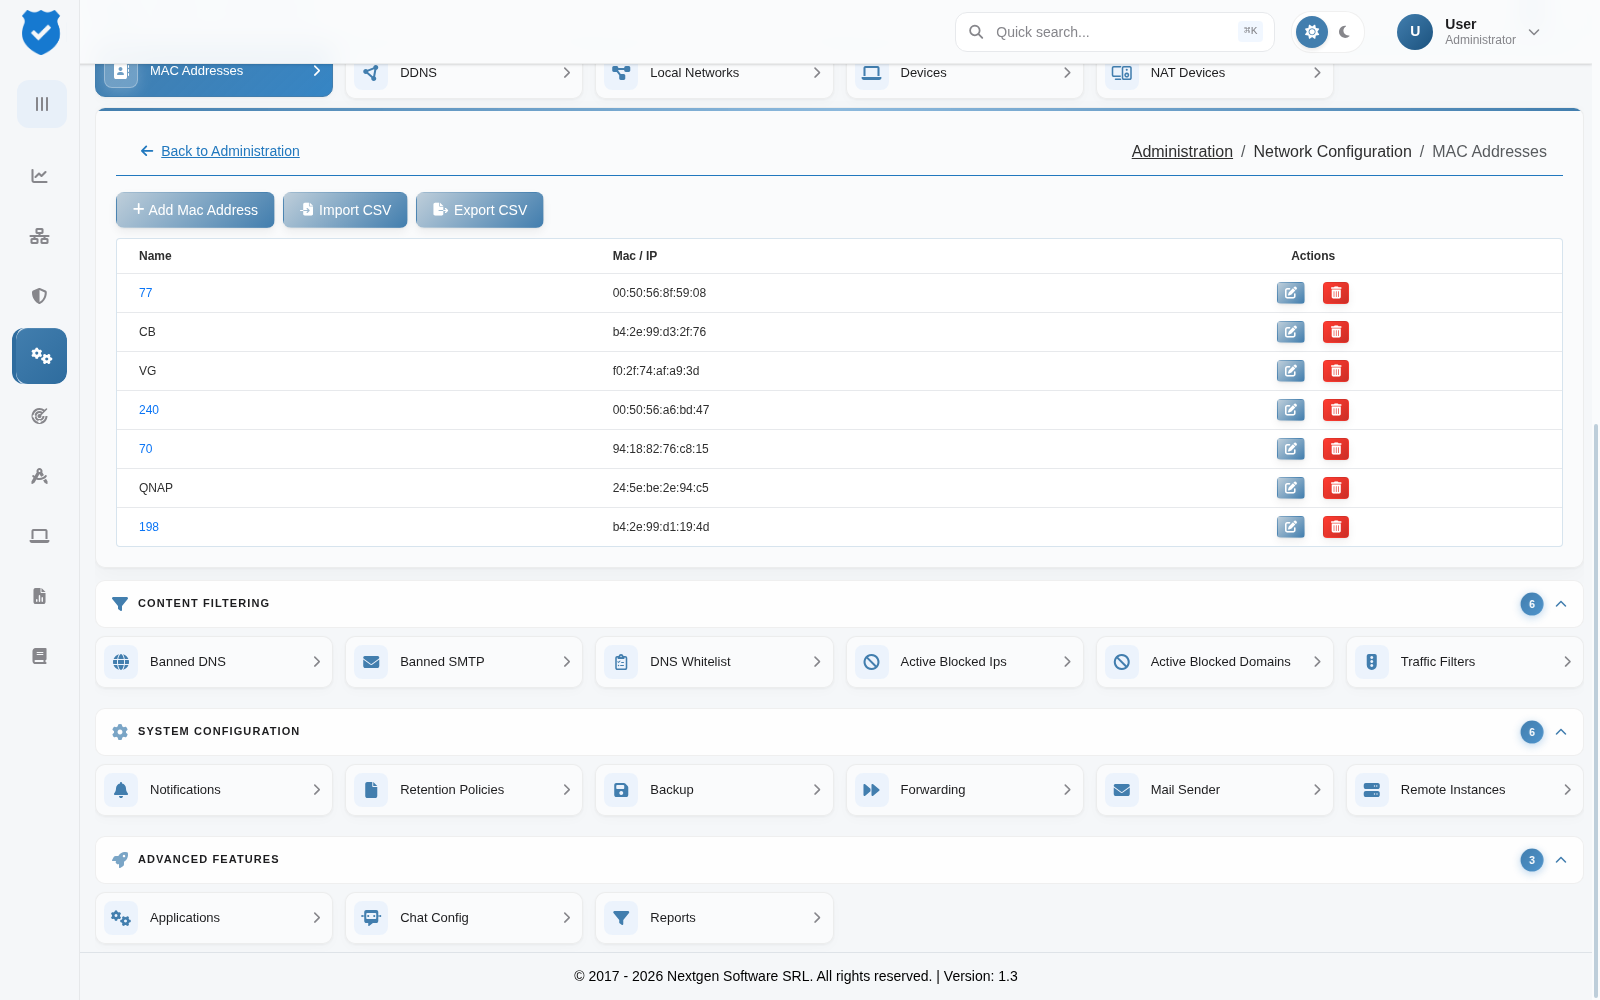
MacAddresses actions:
- Adding MAC Addresses:
- You can manually add MAC addresses using the Add button.
- You can also import MAC addresses from a CSV file.
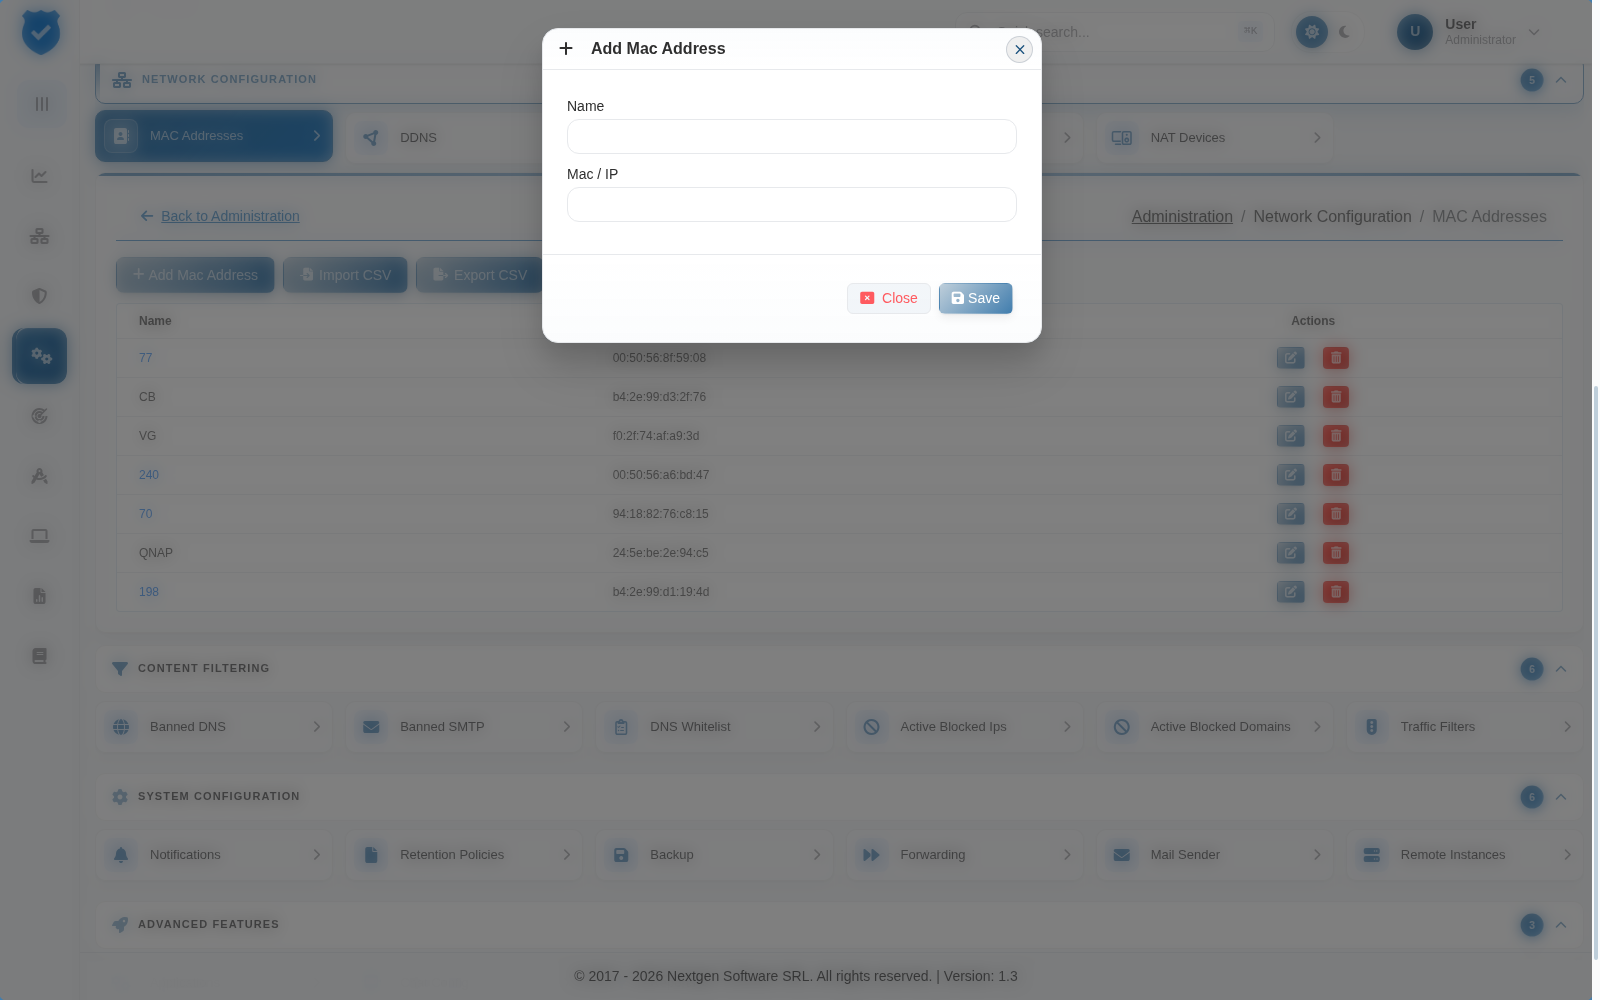
- Editing MAC Addresses:
- You can modify already added MAC addresses as needed.
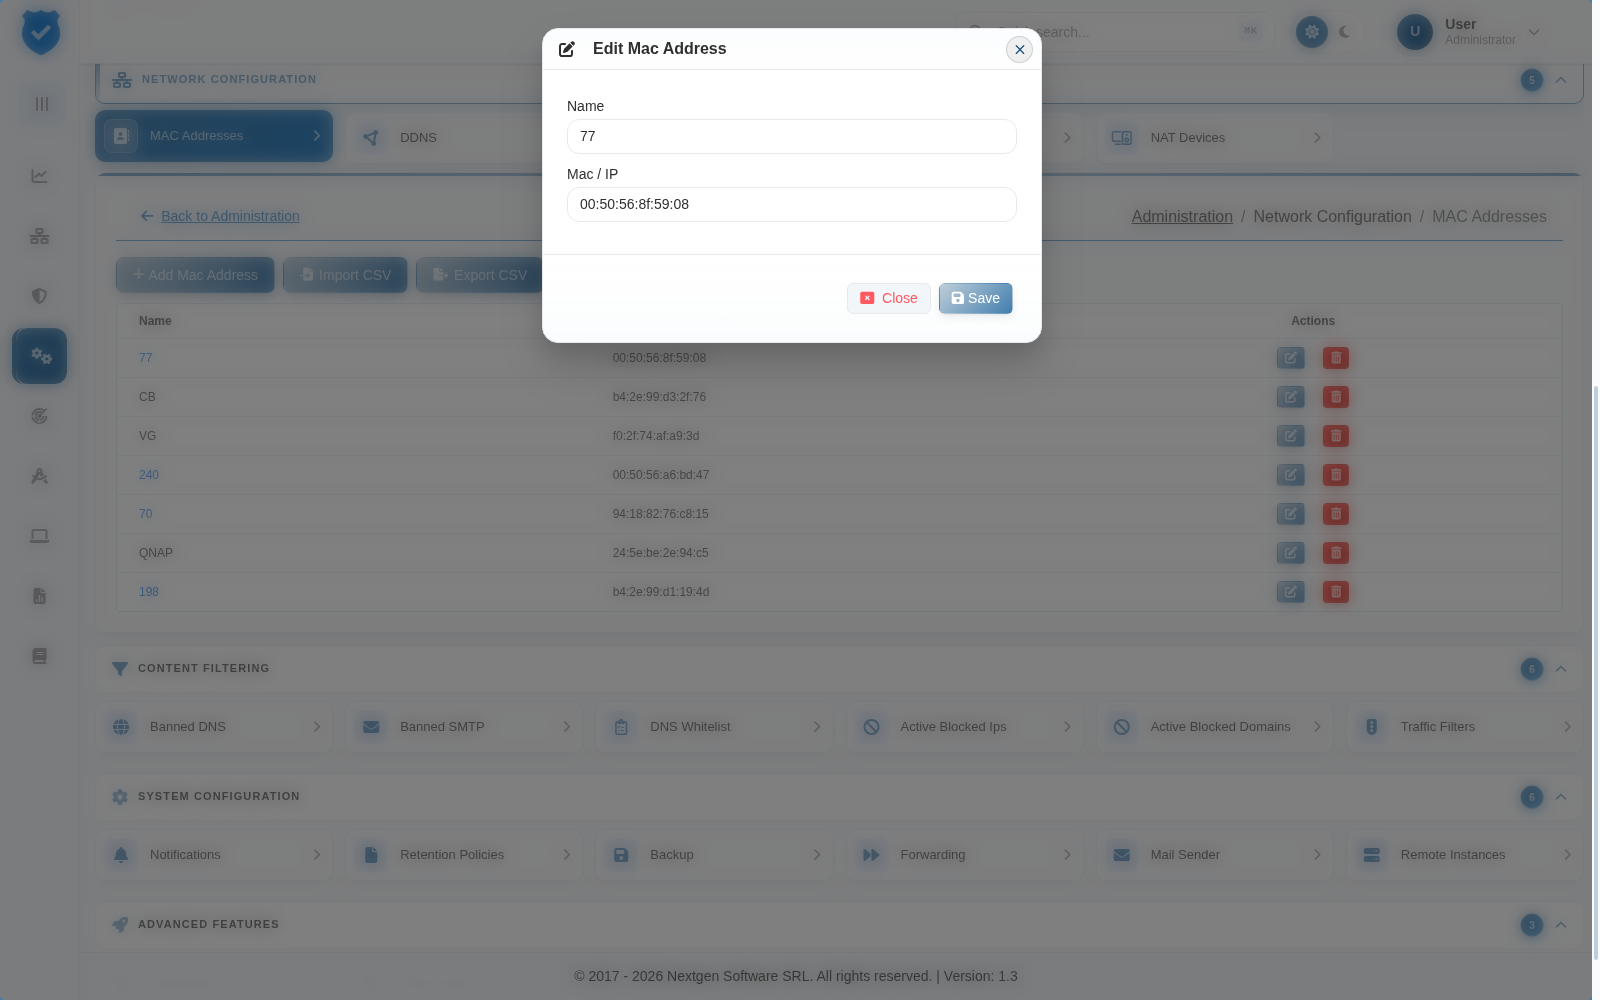
- Deleting MAC Addresses:
- You can remove any MAC addresses from the list.
- Exporting MAC Addresses:
- You can export the list of monitored MAC addresses as a CSV file for backup or further analysis.
Mining nodes (IPs involved in cryptocurrency mining)
Use this feature to block known cryptocurrency mining IP addresses and prevent excessive resource consumption and potential security threats.
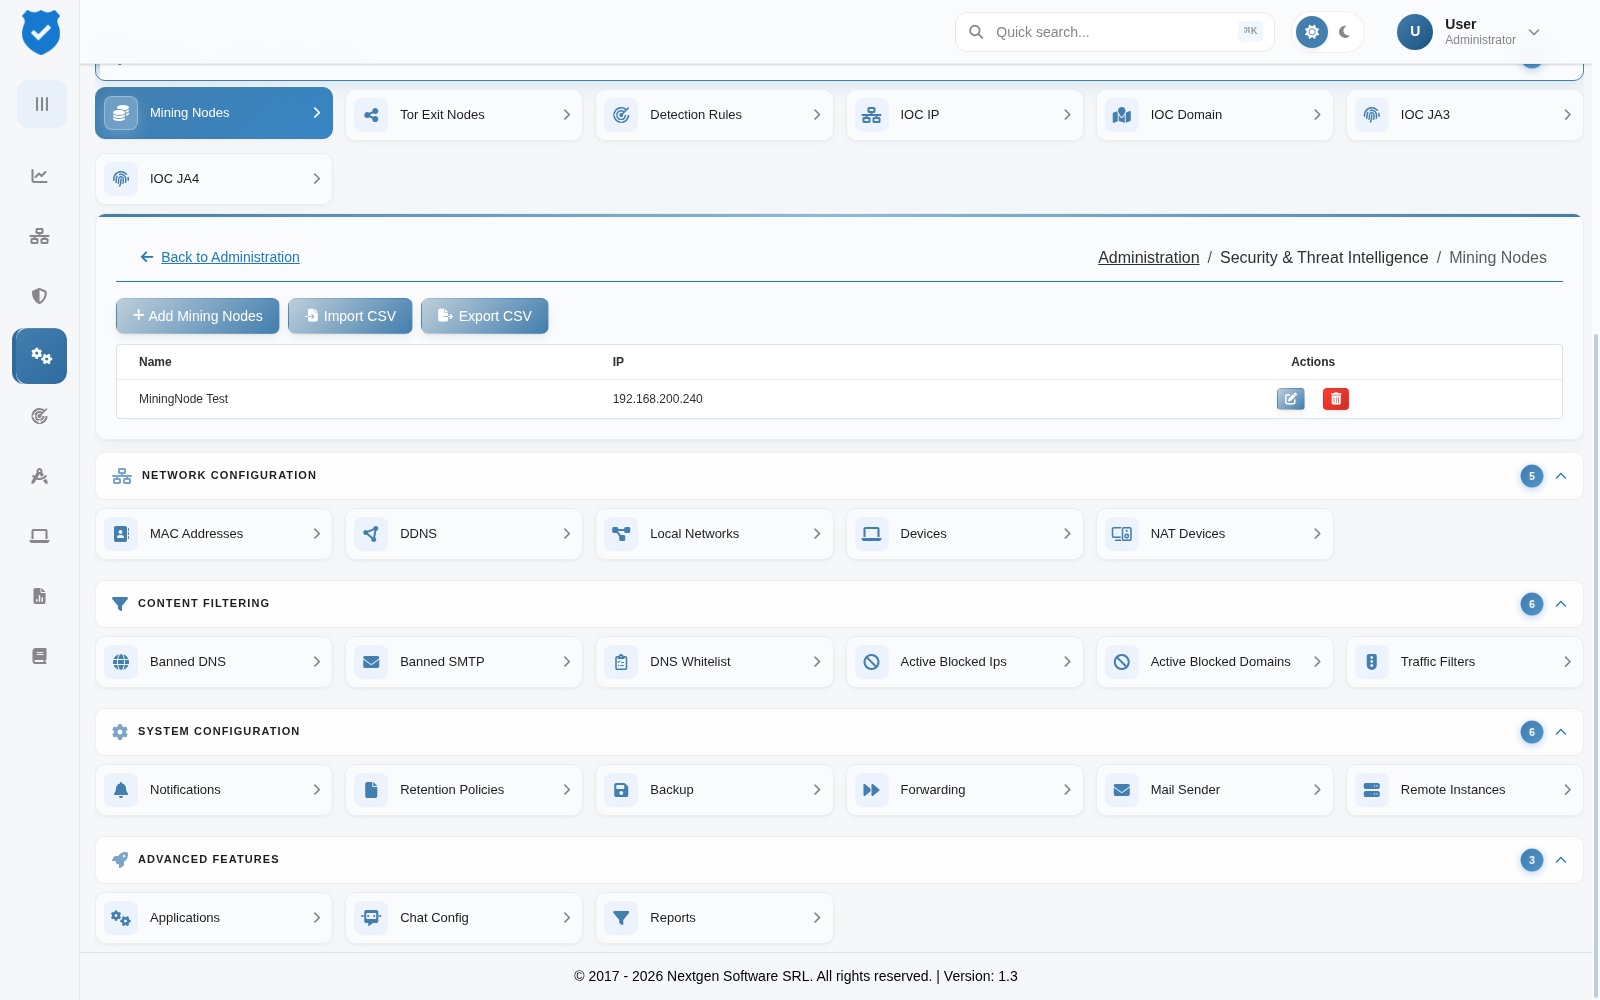
Mining Nodes actions:
- Adding Mining Node IPs:
- You can manually add mining-related IPs using the “Add” button.
- You can also import IPs from a CSV file.
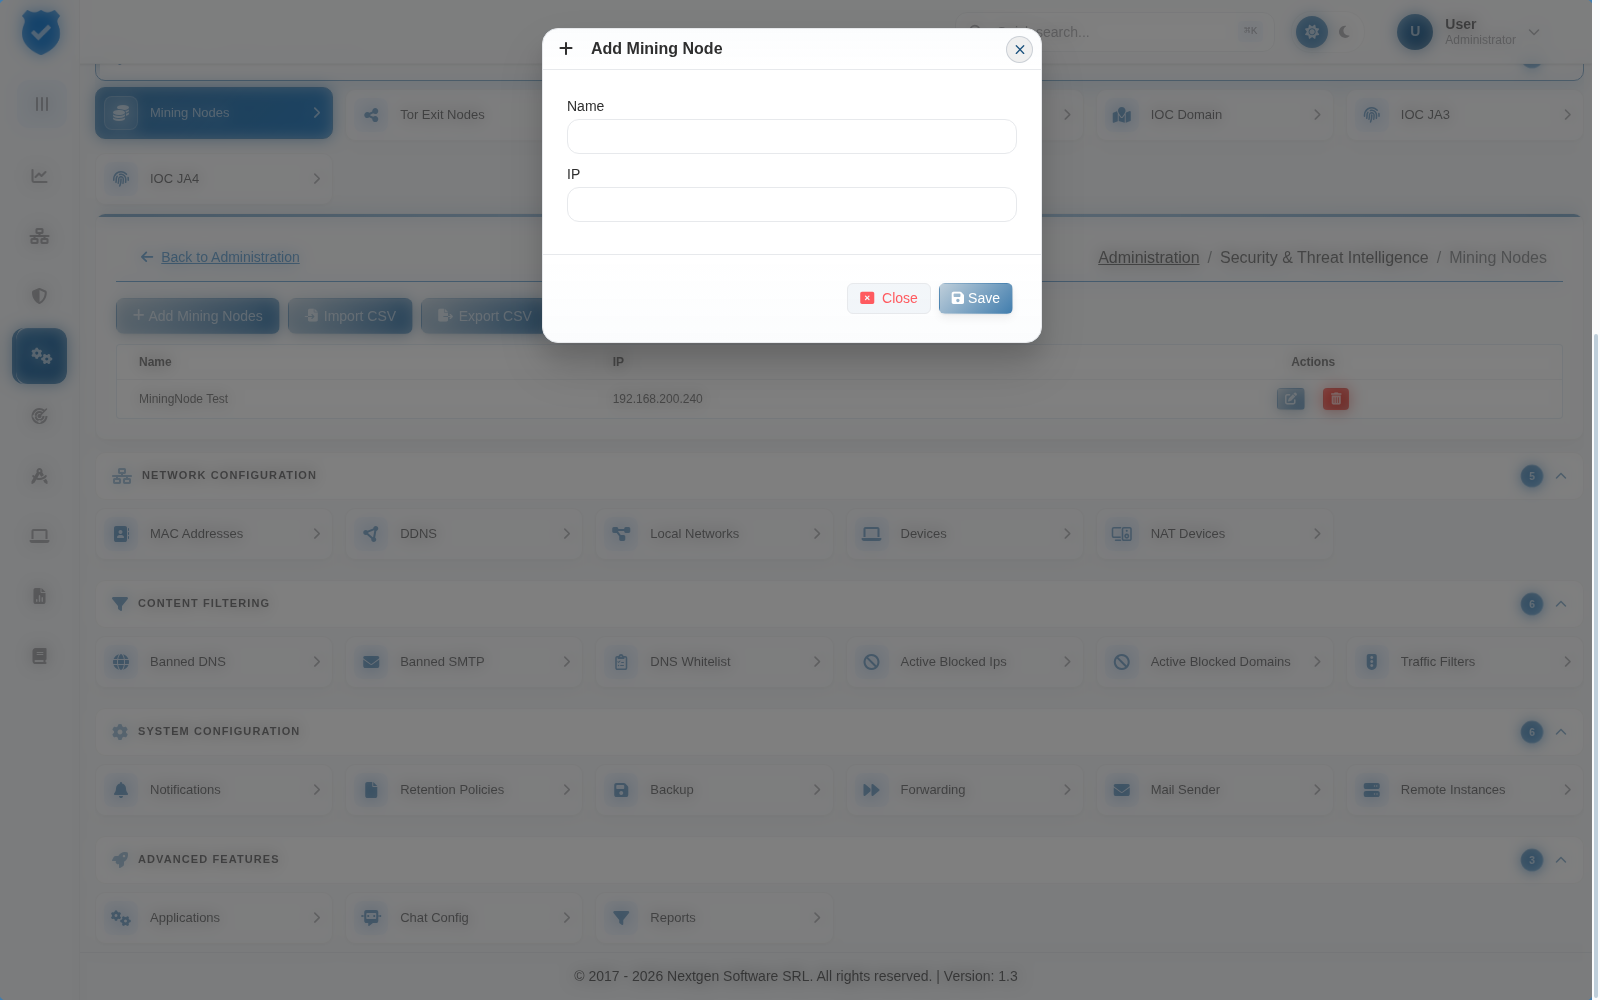
Editing Mining Node IPs:
- You can modify already added mining node IPs as needed.
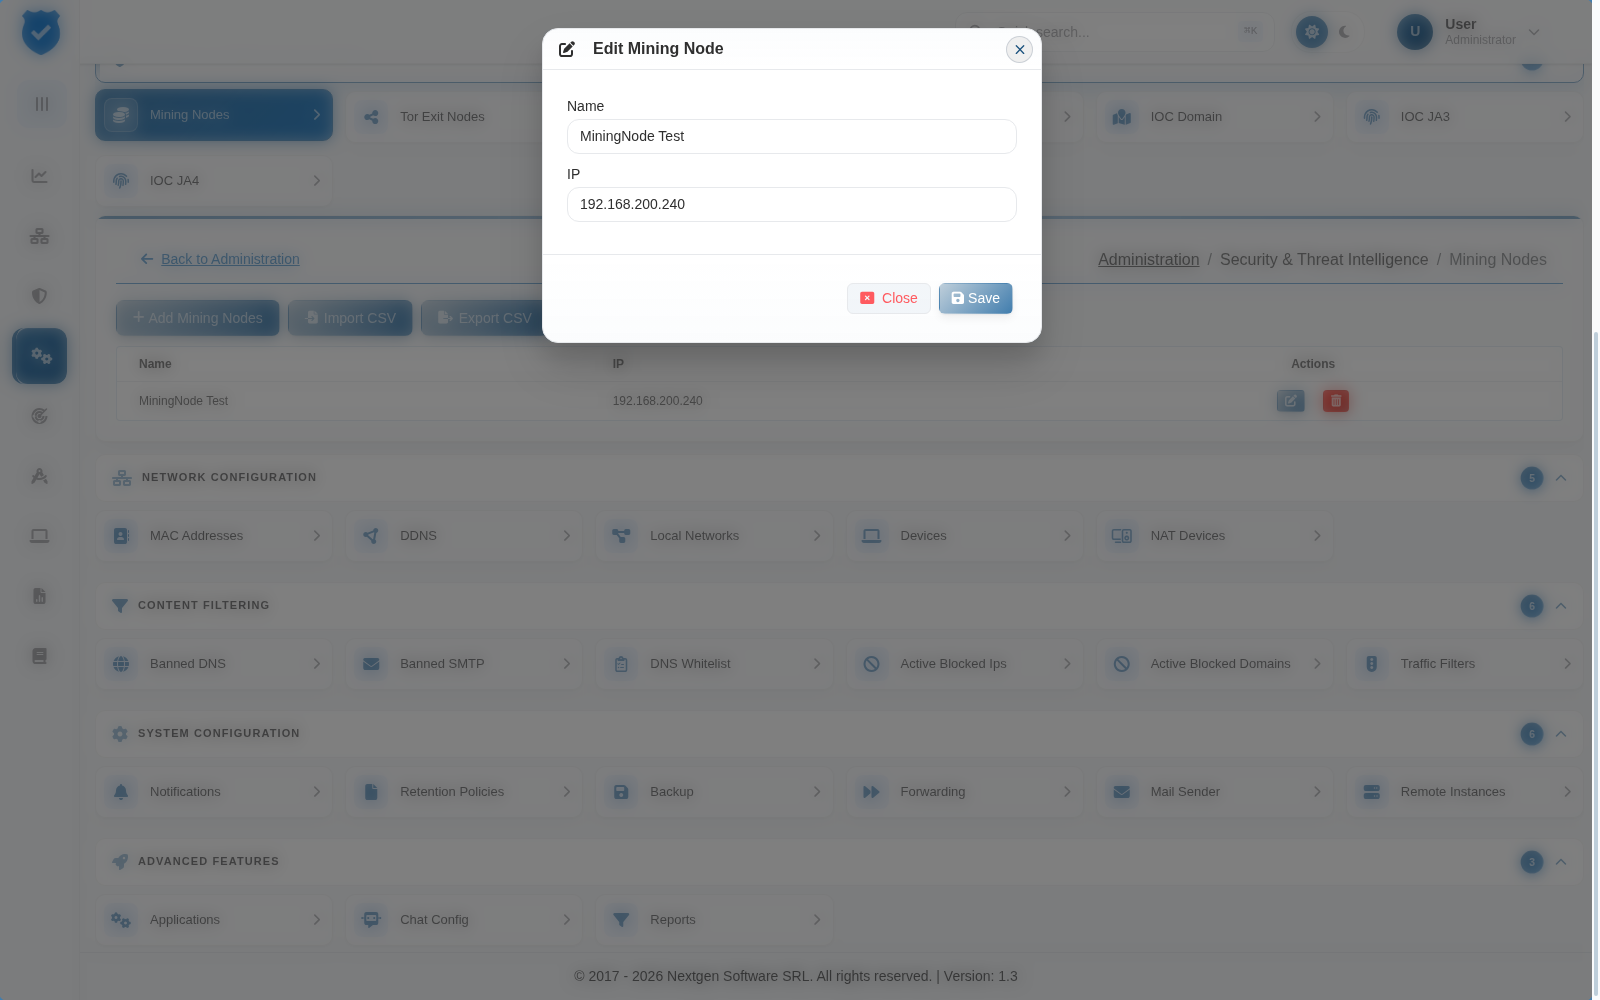
Deleting Mining Node IPs:
- You can remove any mining-related IPs from the list.
Exporting Mining Node IPs:
- You can export the list of mining node IPs as a CSV file for documentation or further analysis.
Tor exit nodes (anonymous browsing and potential malicious activity)
Use this feature to block Tor exit nodes, which are often used for anonymous browsing or cyber threats.
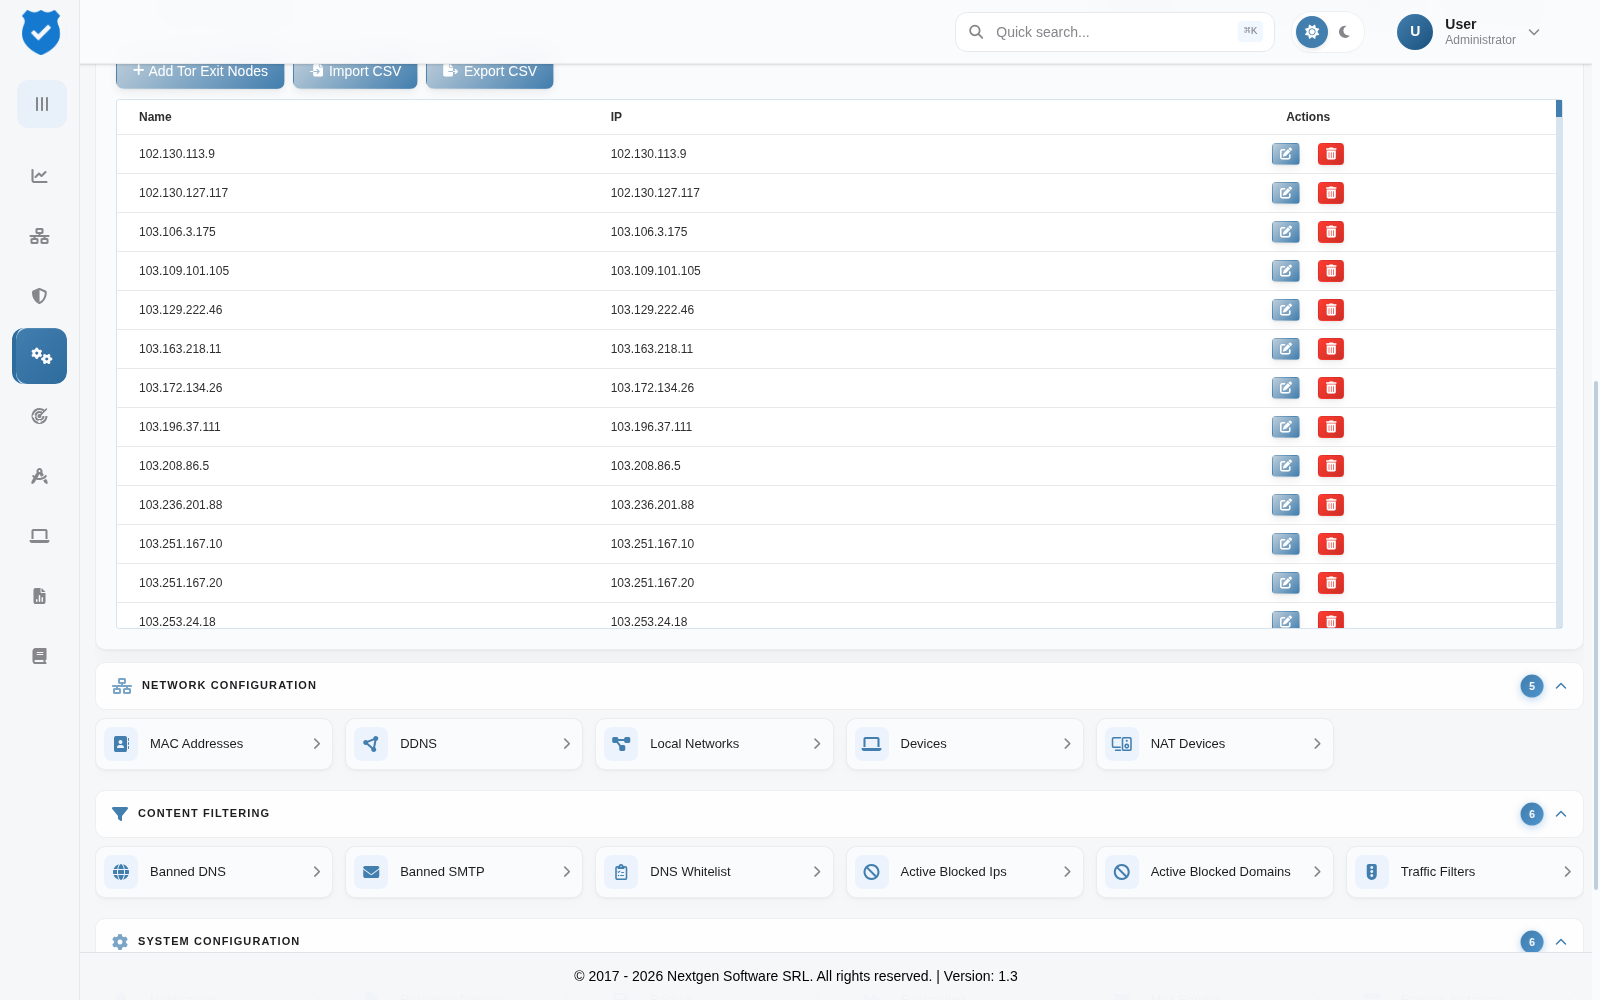
Tor Exit Nodes actions:
- Adding Tor Exit Node IPs:
- You can manually add Tor-related IPs using the “Add” button.
- You can also import IPs from a CSV file.
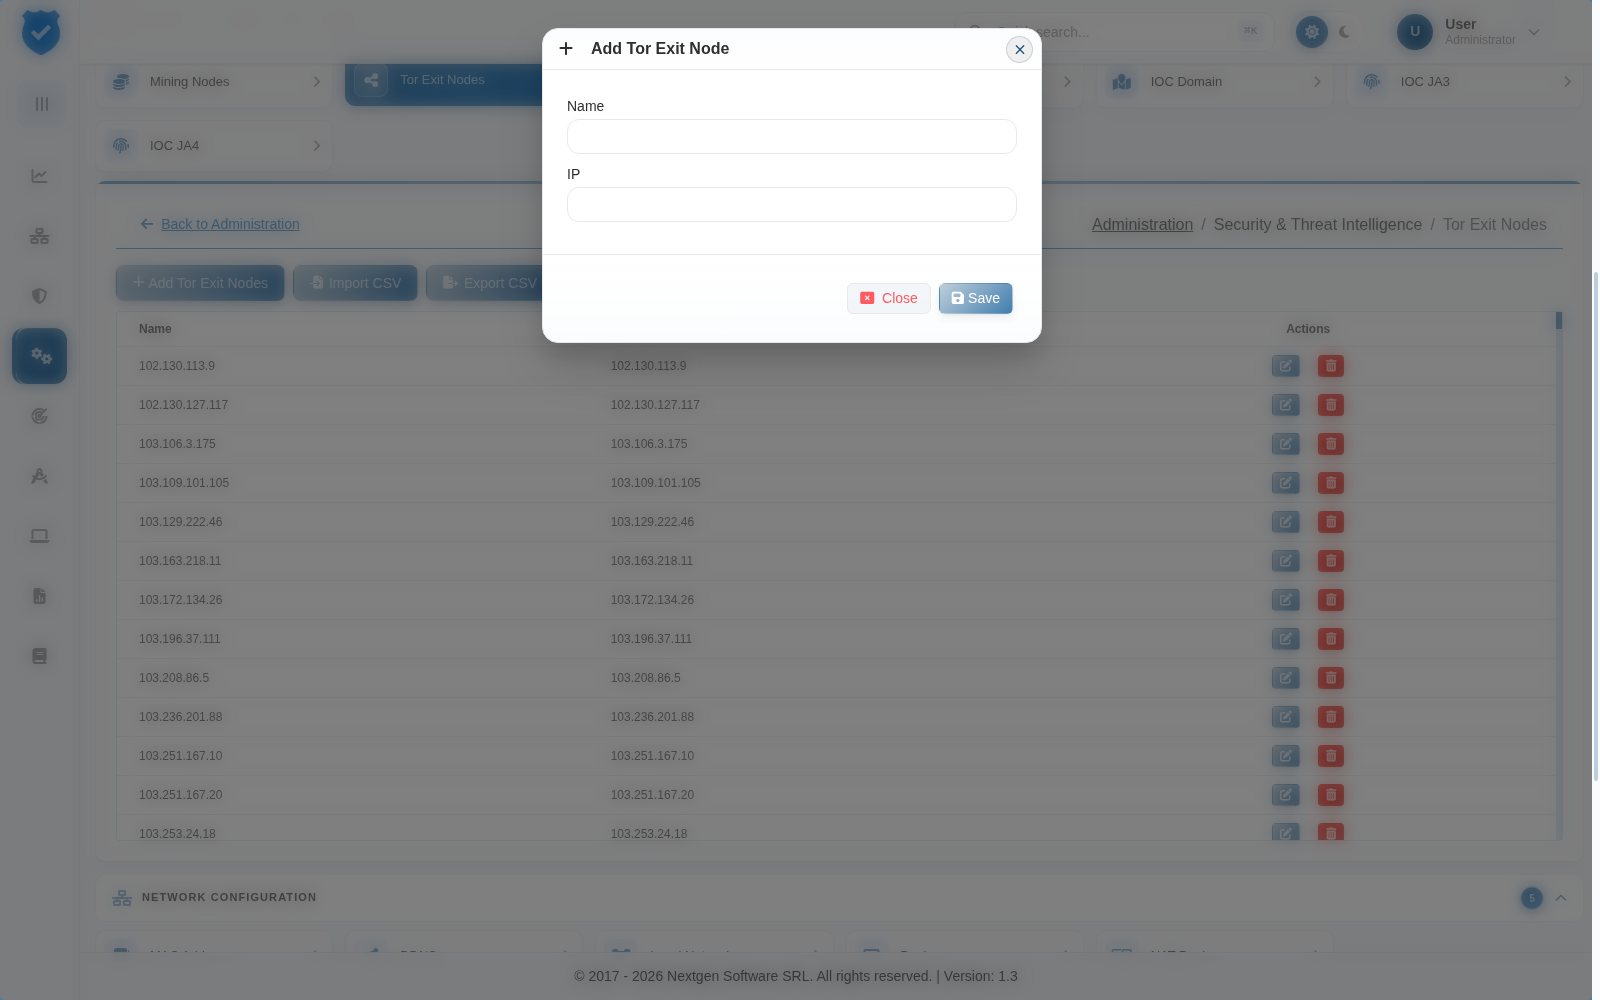
- Editing Tor Exit Node IPs:
- You can modify already added Tor exit node IPs as needed.
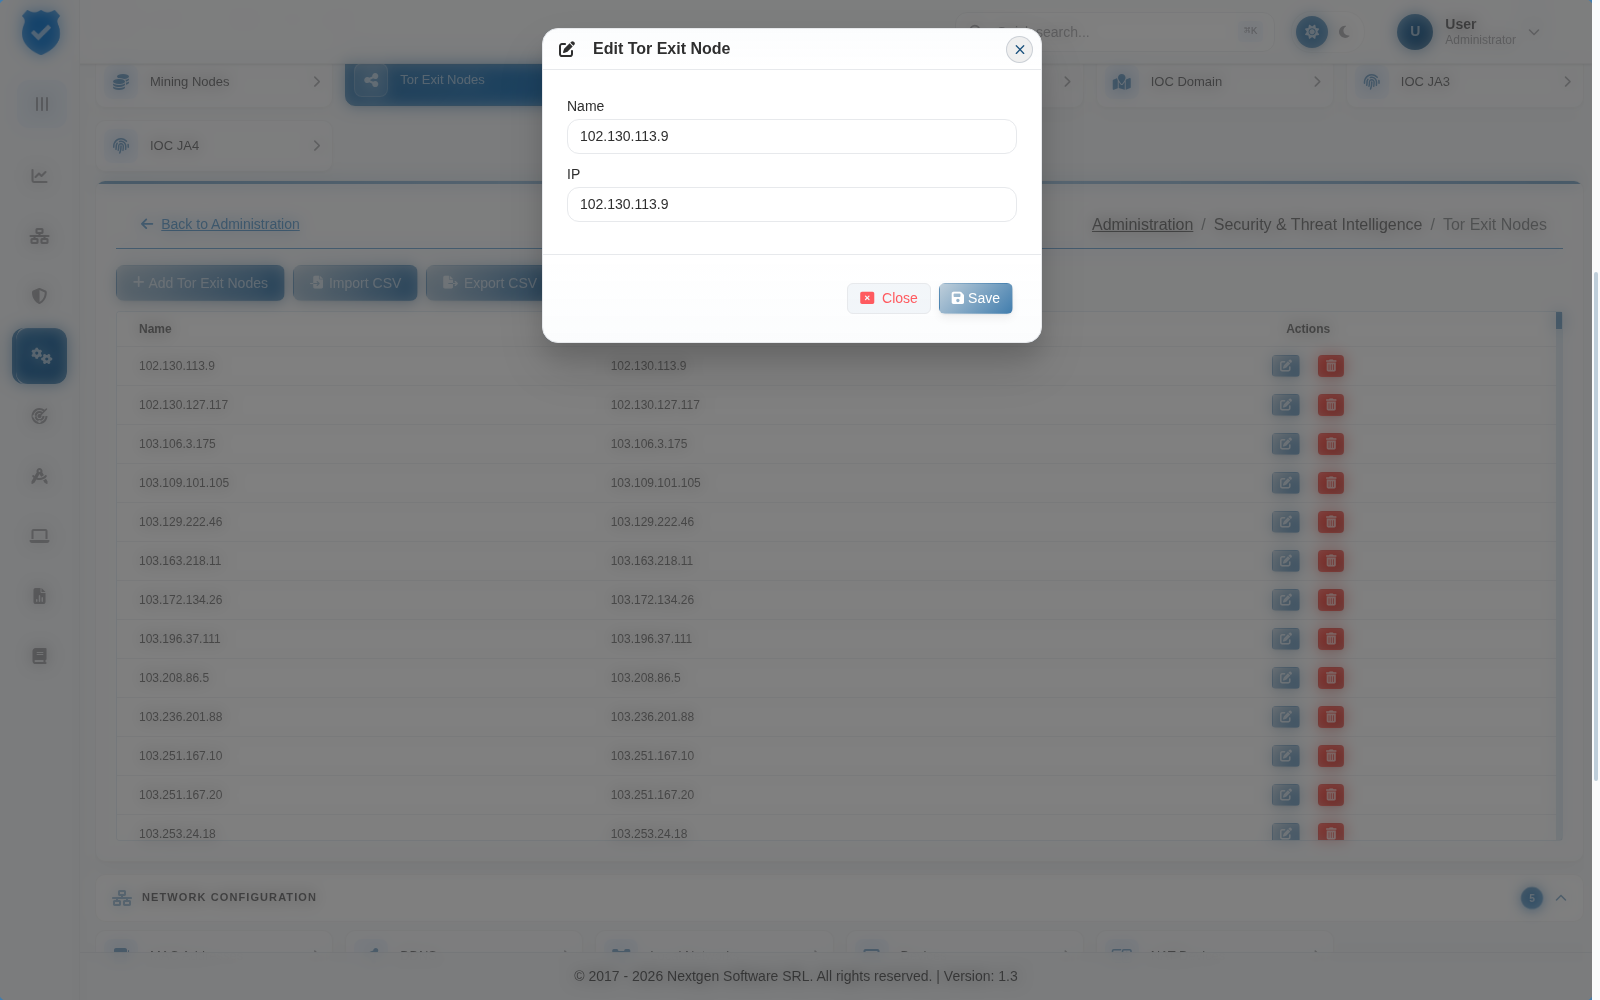
- Deleting Tor Exit Node IPs:
- You can remove any Tor exit node IPs from the list.
- Exporting Tor Exit Node IPs:
- You can export the list of Tor exit node IPs as a CSV file for documentation or further analysis.
DDNS IPs (dynamic domain name system addresses associated with evasion techniques)
This feature helps block DDNS IPs that cybercriminals often use to evade detection.
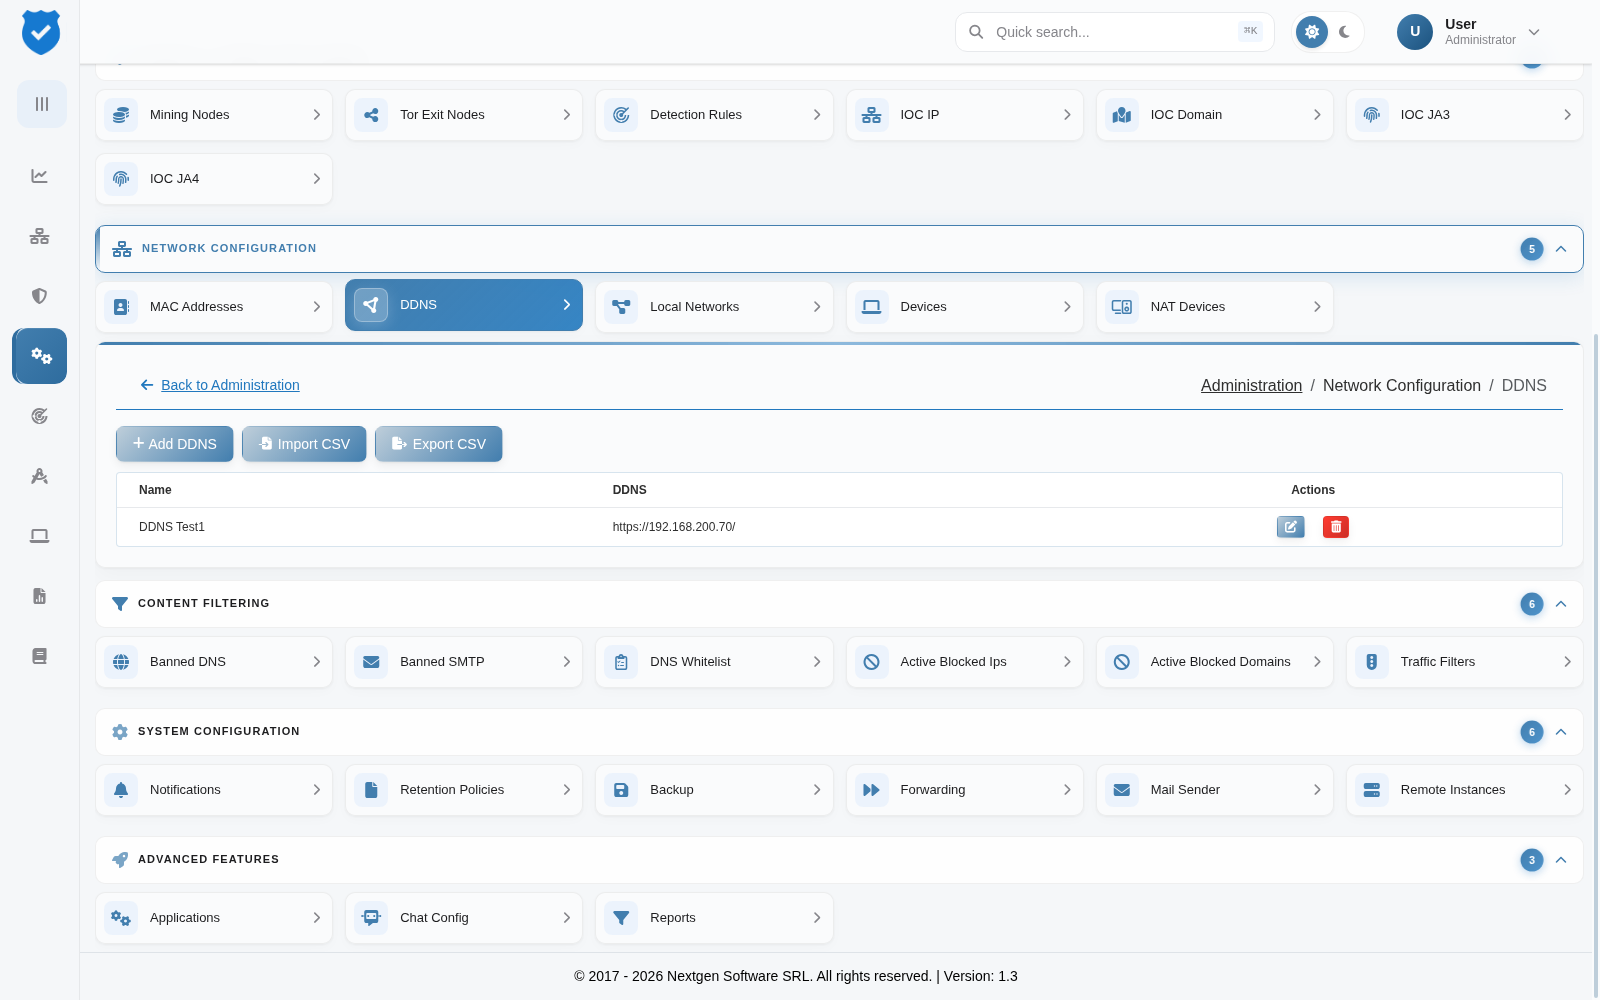
DDNS IP actions:
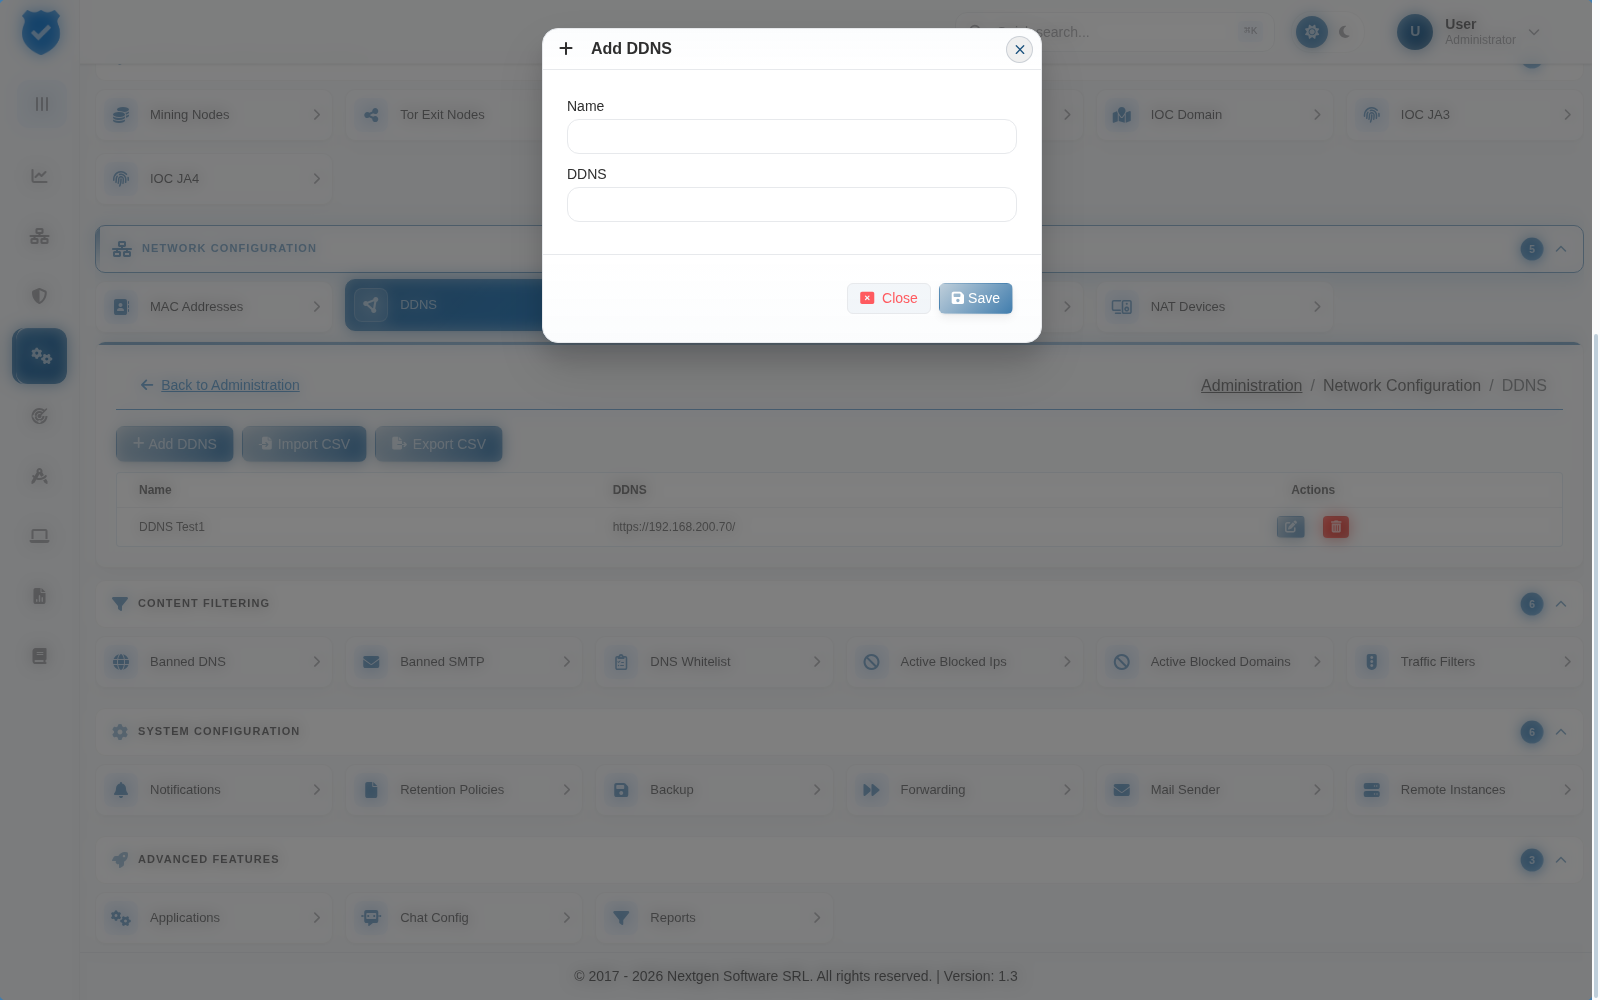
- Adding DDNS IPs:
- You can manually add DDNS-related IPs using the “Add” button.
- You can also import IPs from a CSV file.
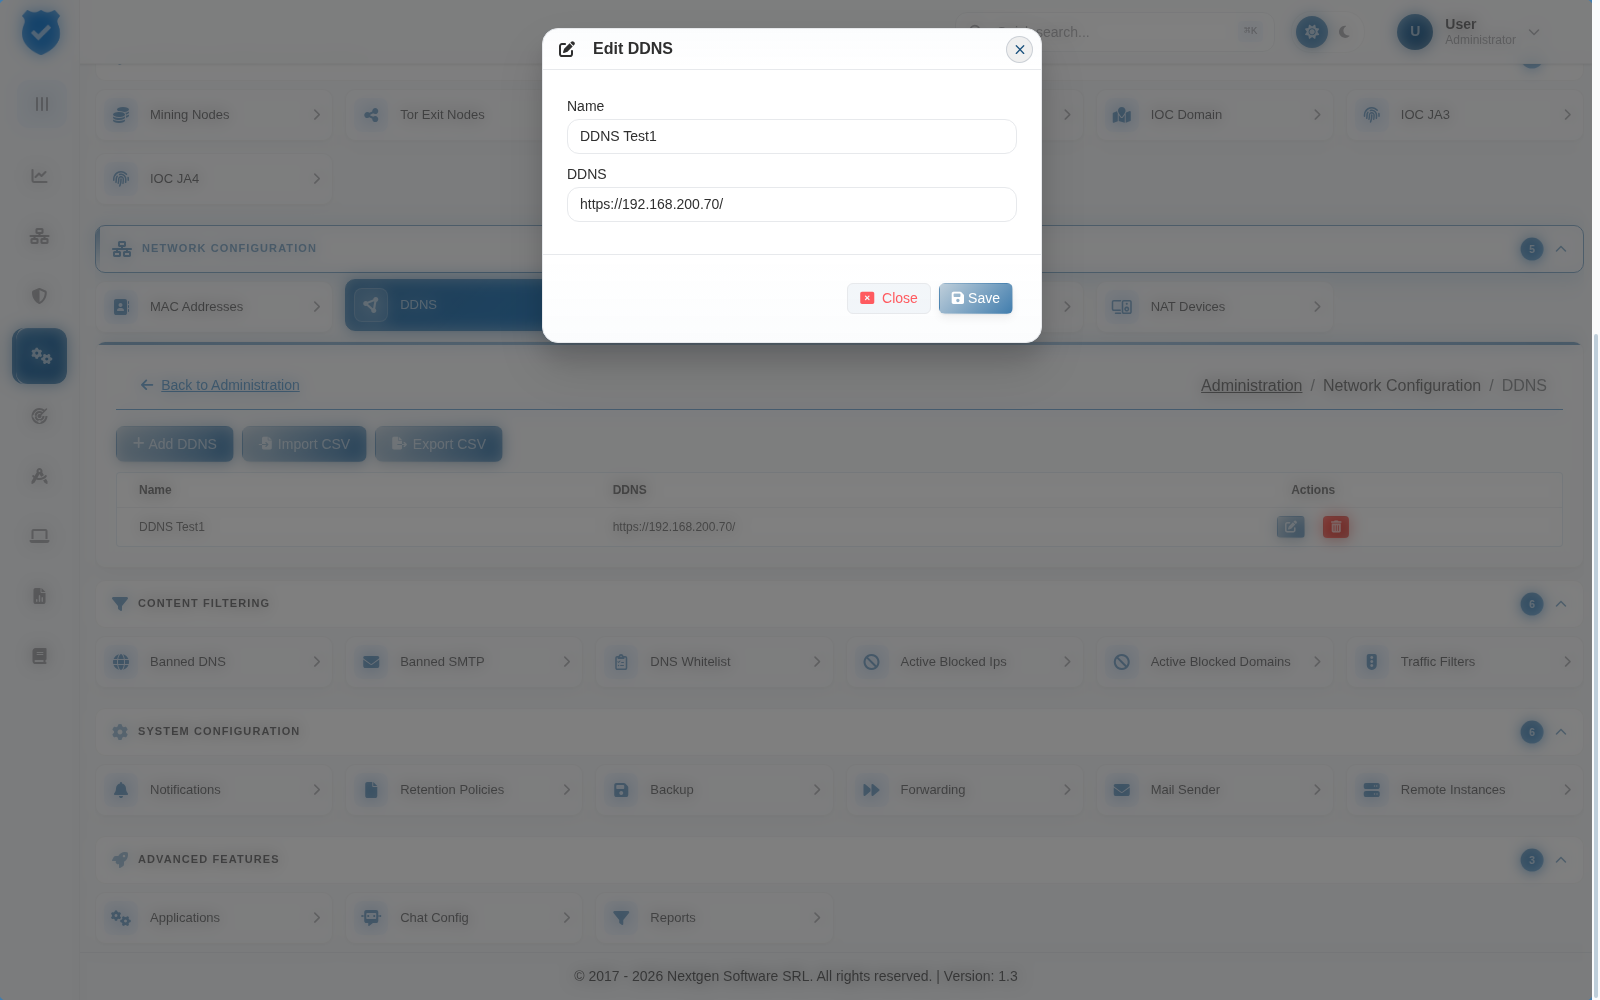
- Editing DDNS IPs:
- You can modify already added DDNS IPs as needed.
- Deleting DDNS IPs:
- You can remove any DDNS IPs from the list.
- Exporting DDNS IPs:
- You can export the list of DDNS IPs as a CSV file for documentation or further analysis.
Banned DNS IPs (blacklisted domain name system addresses)
Use this feature to block DNS addresses flagged for malicious activity or security risks.
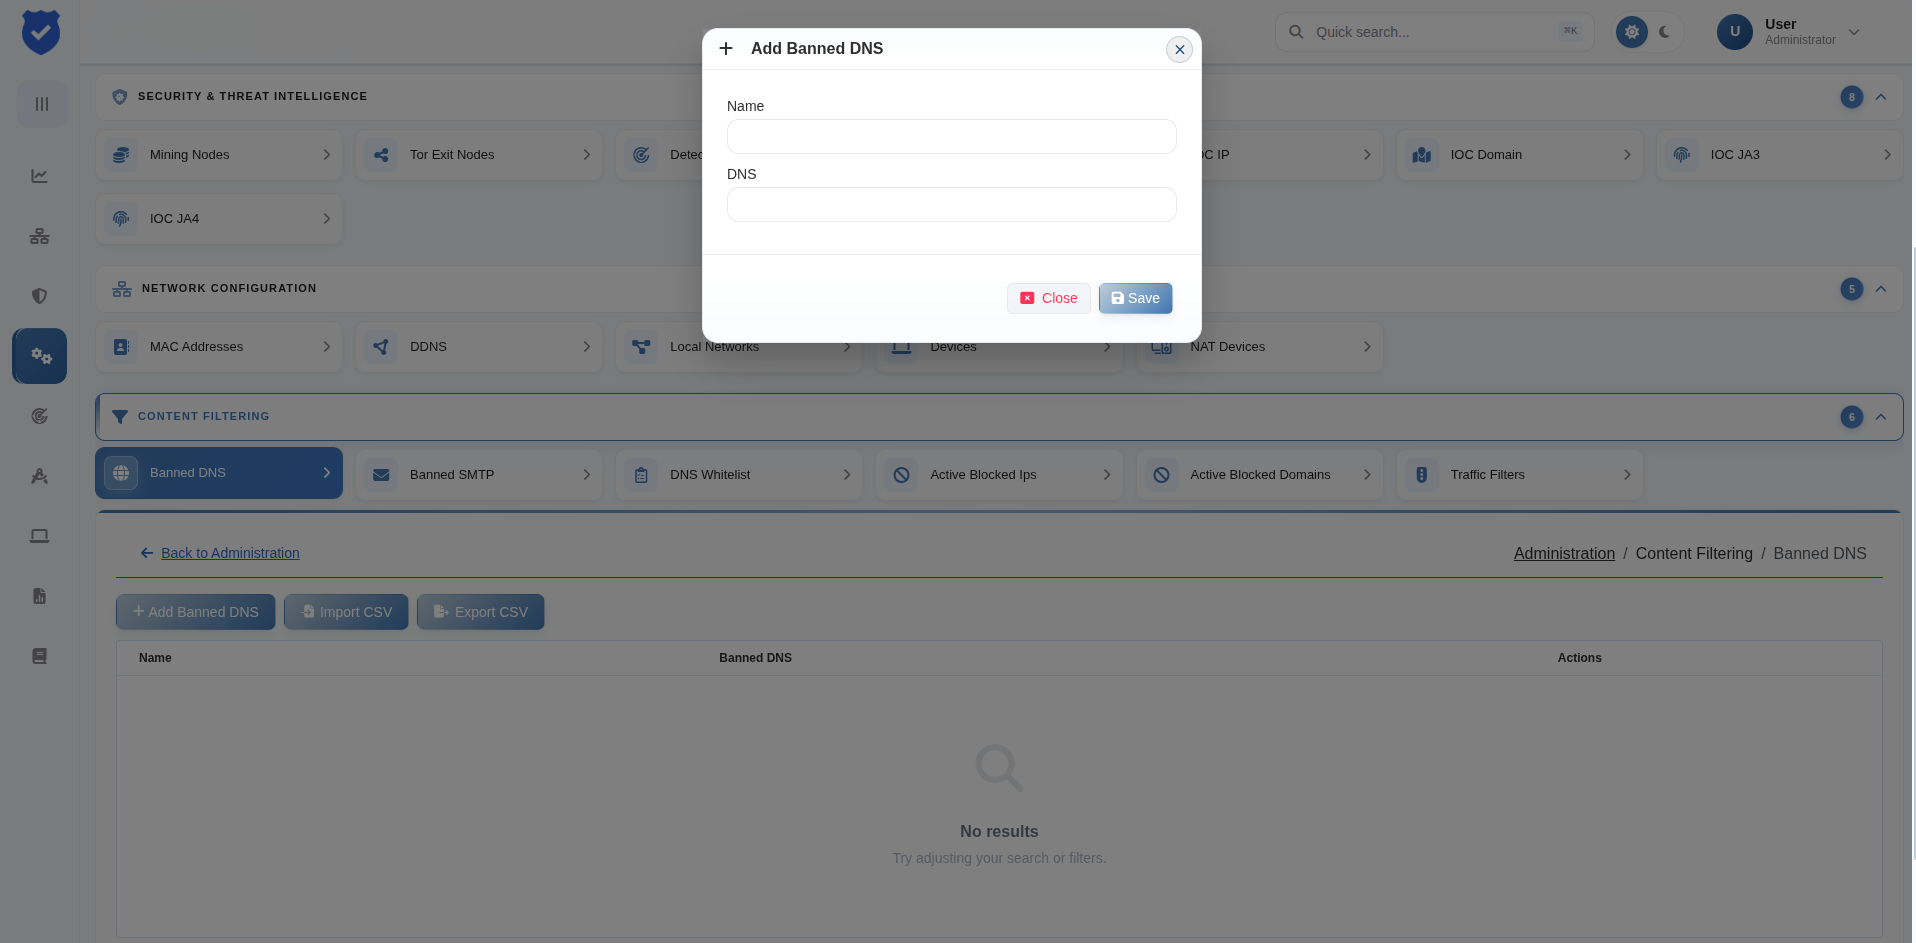
Banned DNS IP actions:
- Adding Banned DNS IPs:
- You can manually add banned DNS IPs using the “Add” button.
- You can also import IPs from a CSV file.
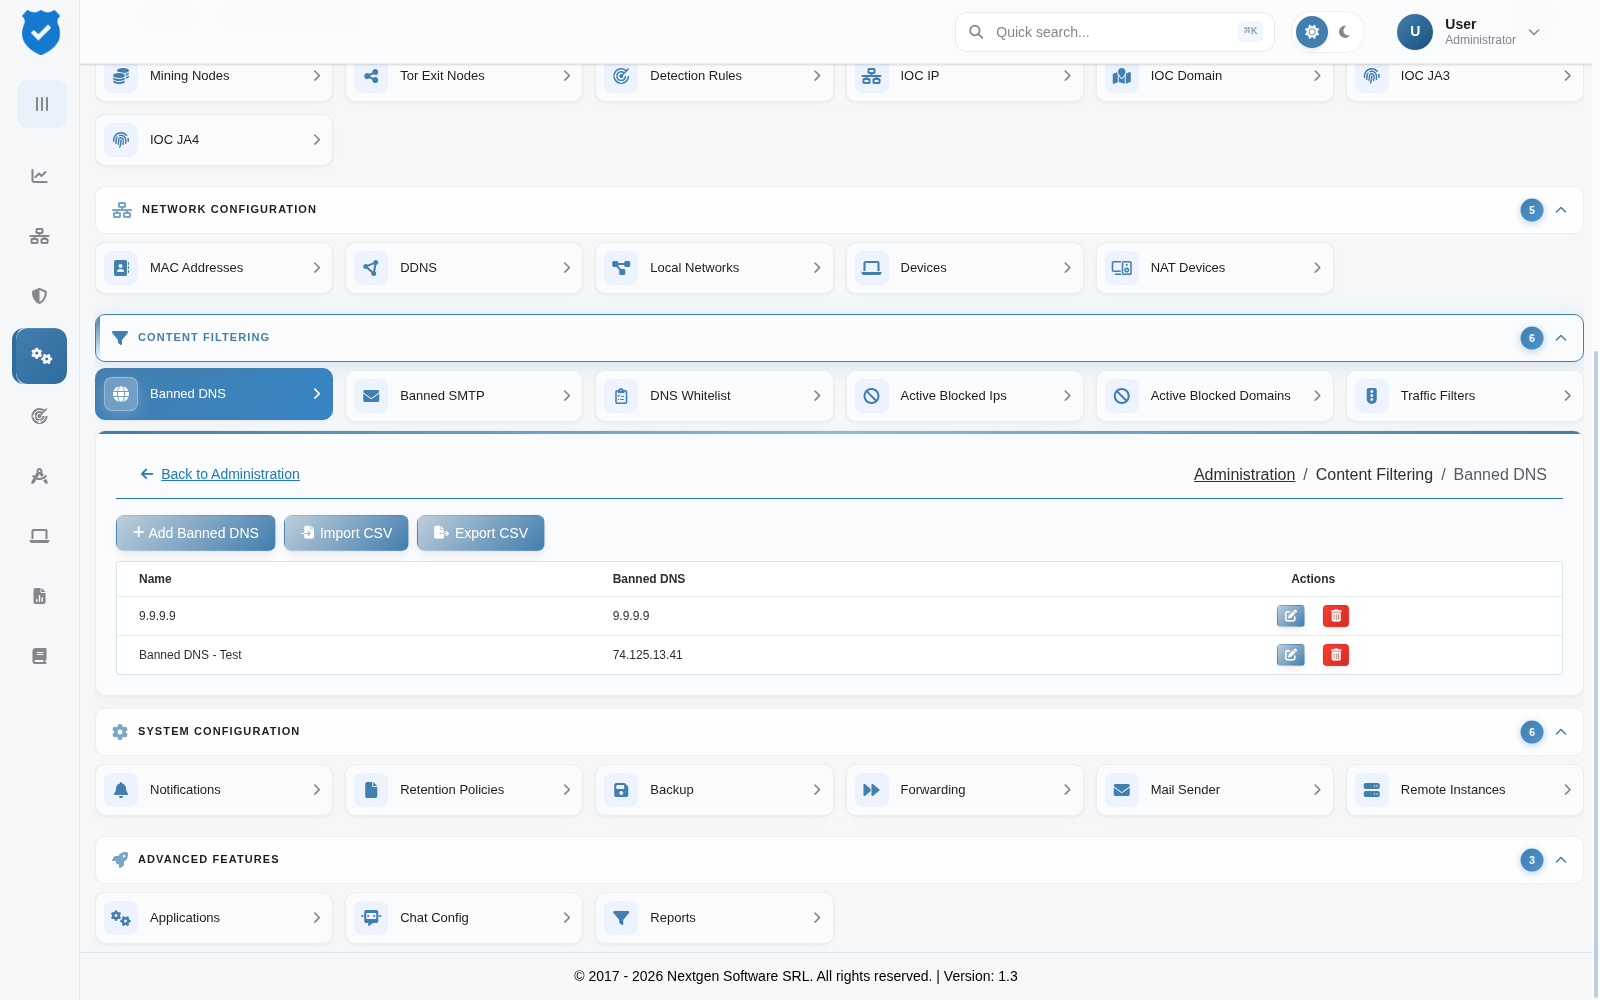
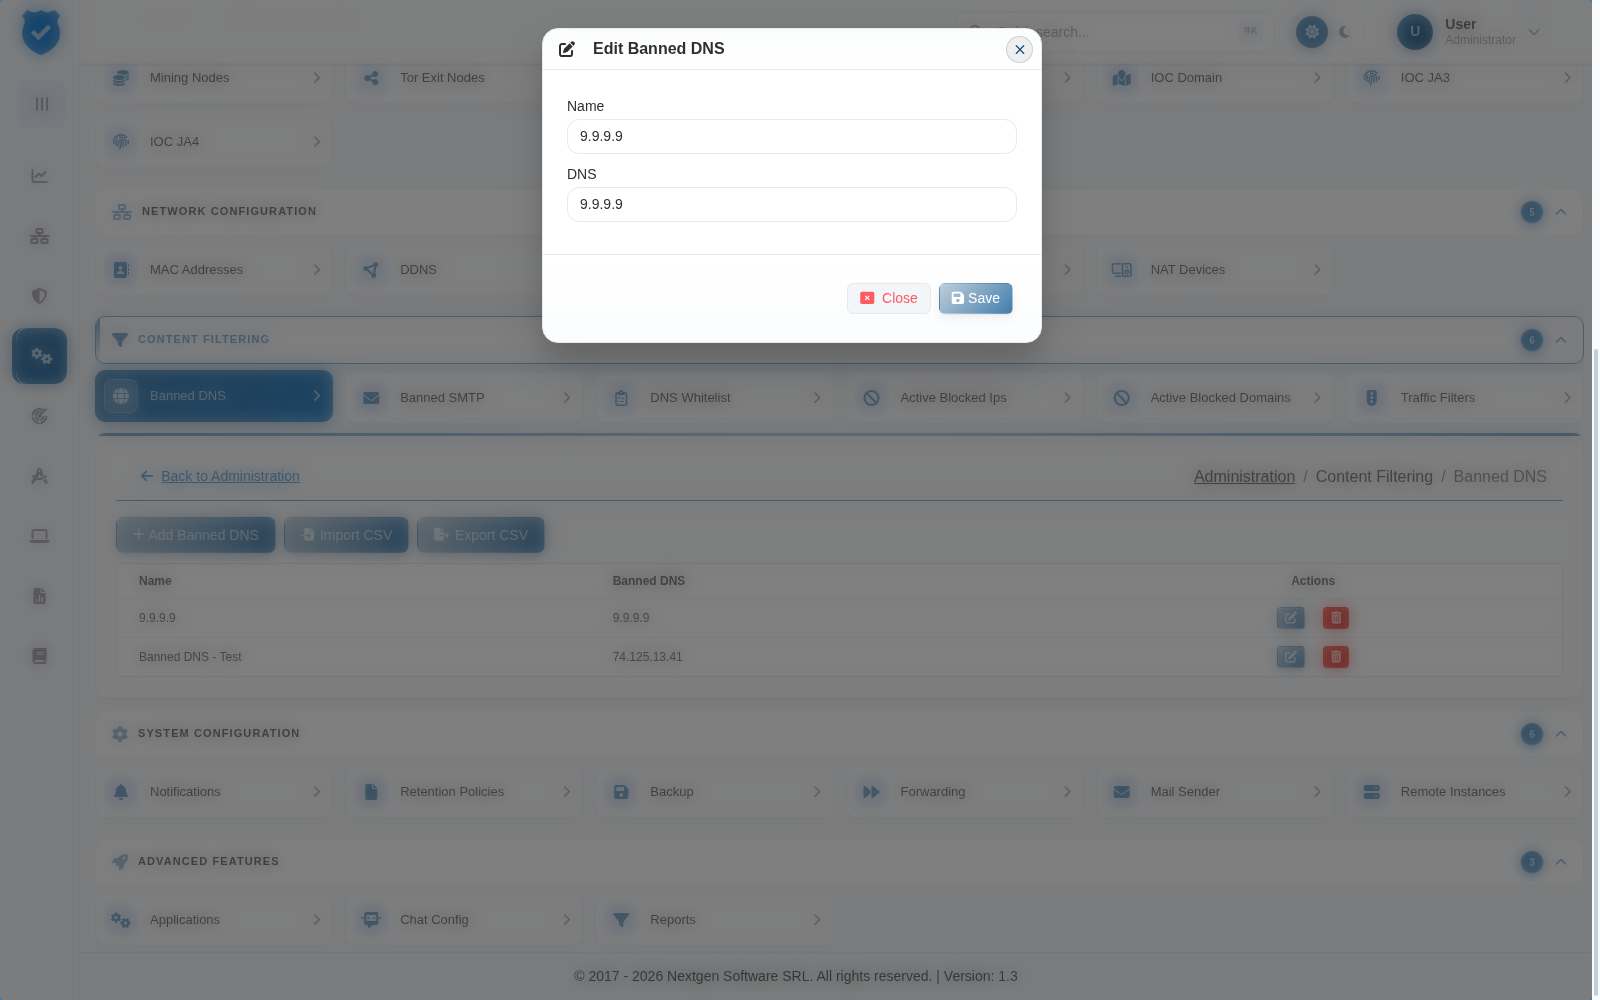
- Editing Banned DNS IPs:
- You can modify already added banned DNS IPs as needed.
- Deleting Banned DNS IPs:
- You can remove any banned DNS IPs from the list.
- Exporting Banned DNS IPs:
- You can export the list of banned DNS IPs as a CSV file for documentation or further analysis.
Banned SMTP IPs (blocked email traffic from known spamming sources)
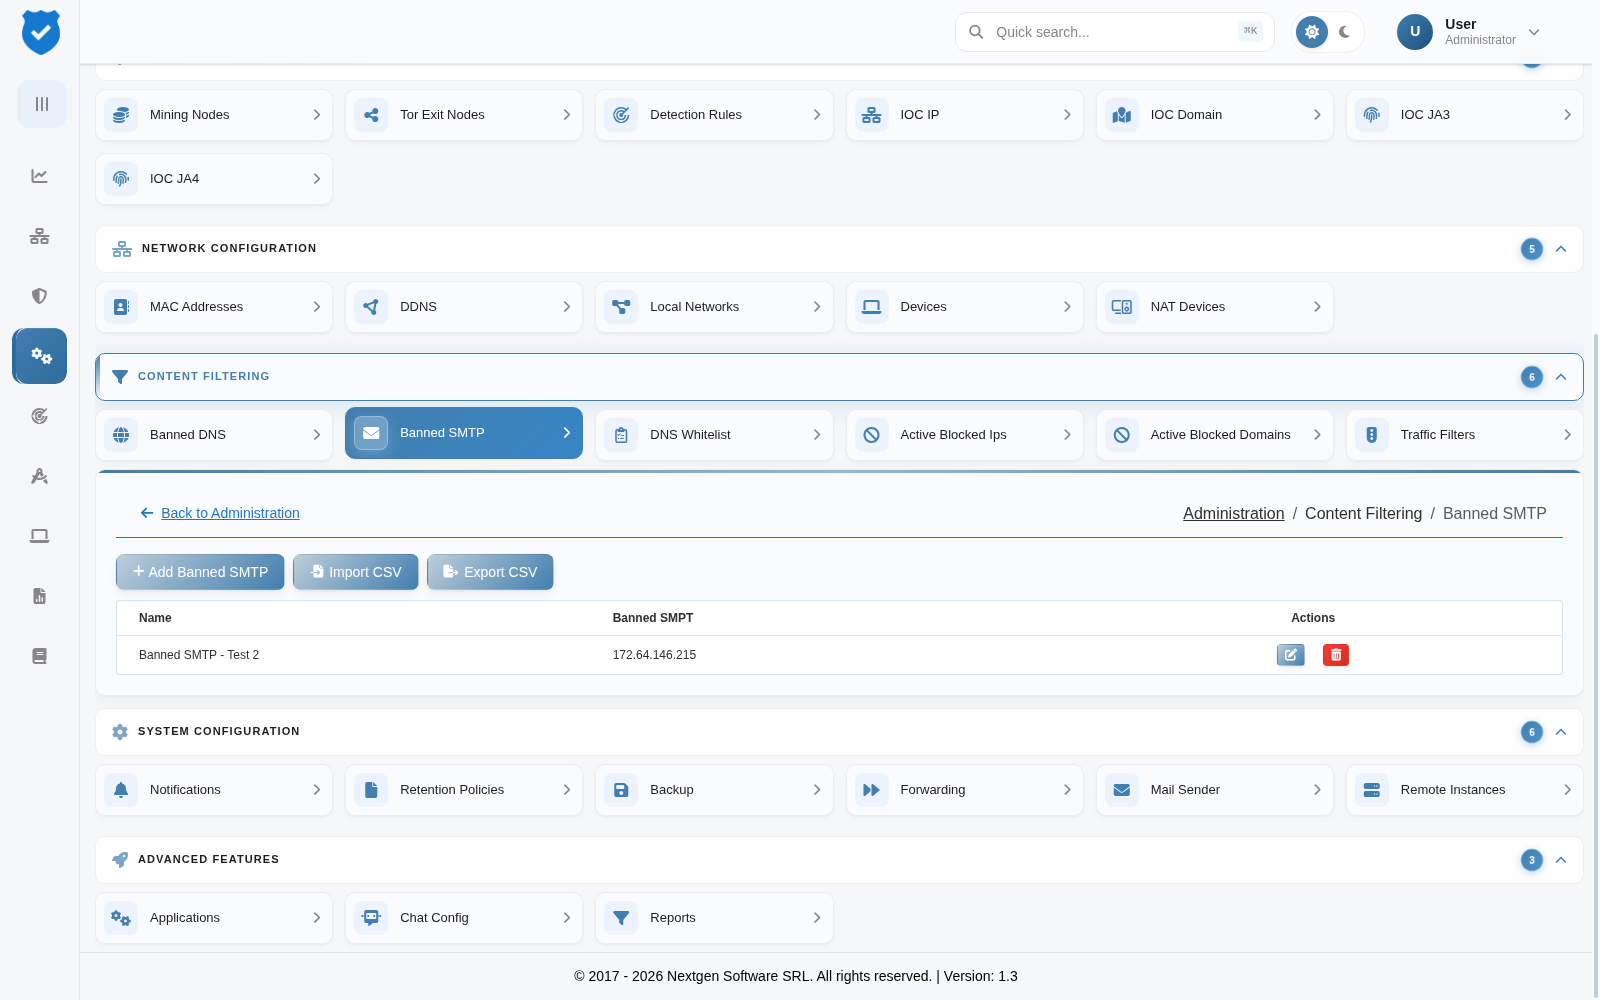
Use this feature to block SMTP IPs associated with spam, phishing, and other email threats.
Banned SMTP IP actions:
- Adding Banned SMTP IPs:
- You can manually add banned SMTP IPs using the “Add” button.
- You can also import IPs from a CSV file.
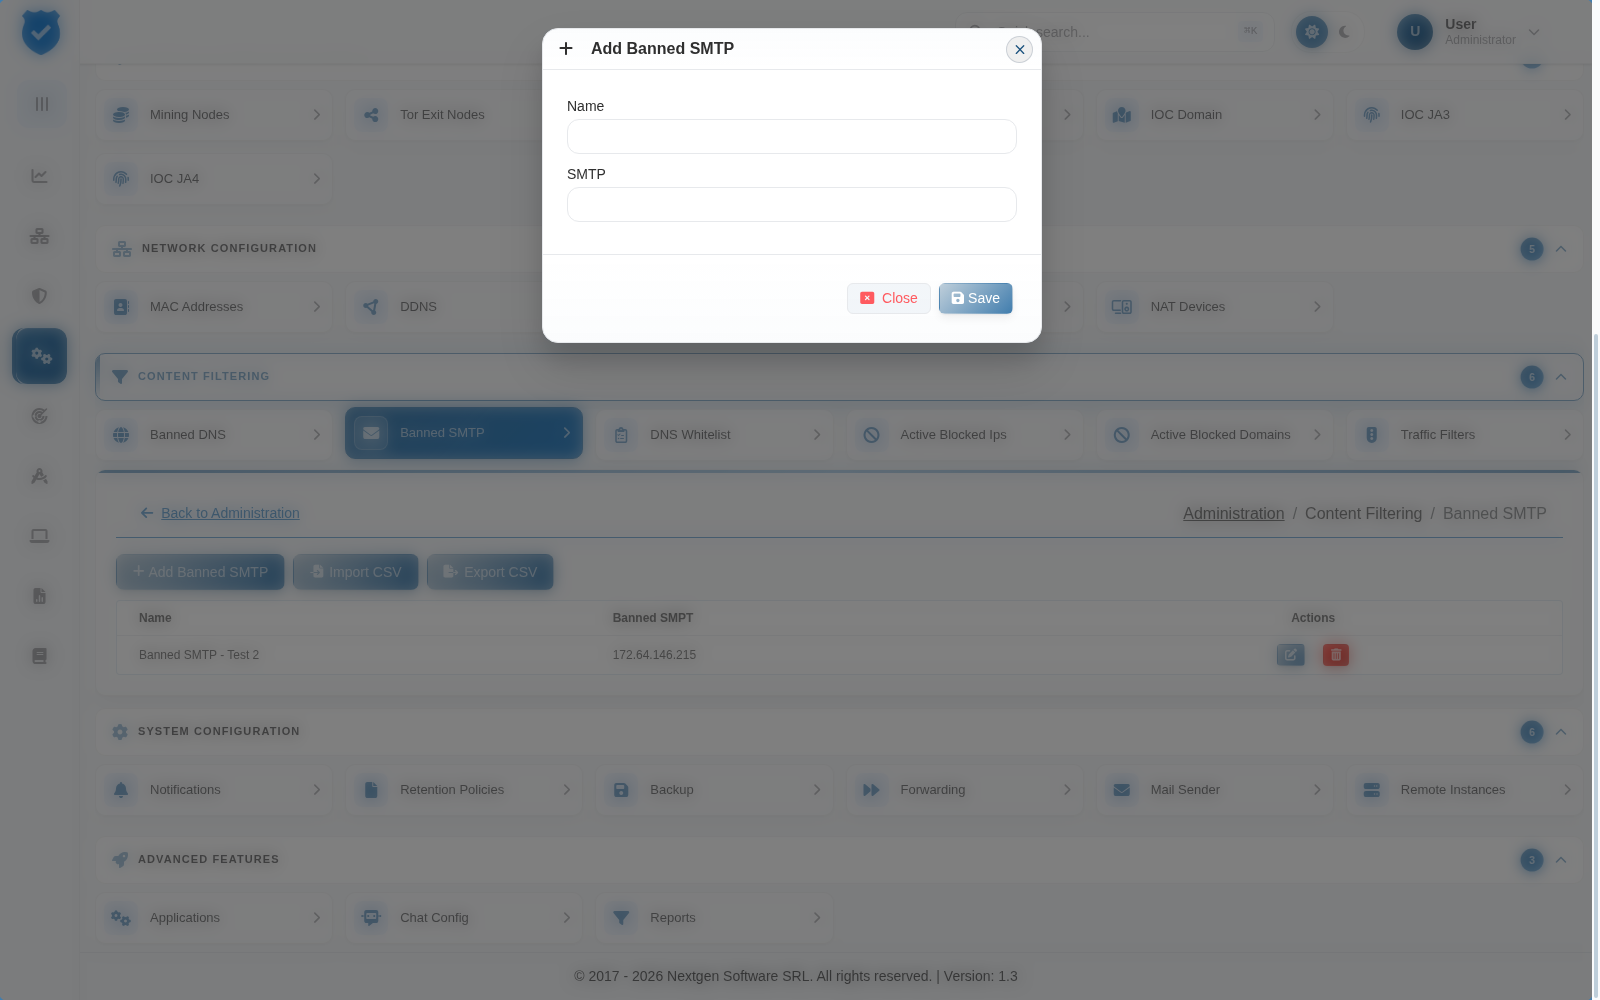
- Editing Banned SMTP IPs:
- You can modify already added banned SMTP IPs as needed.
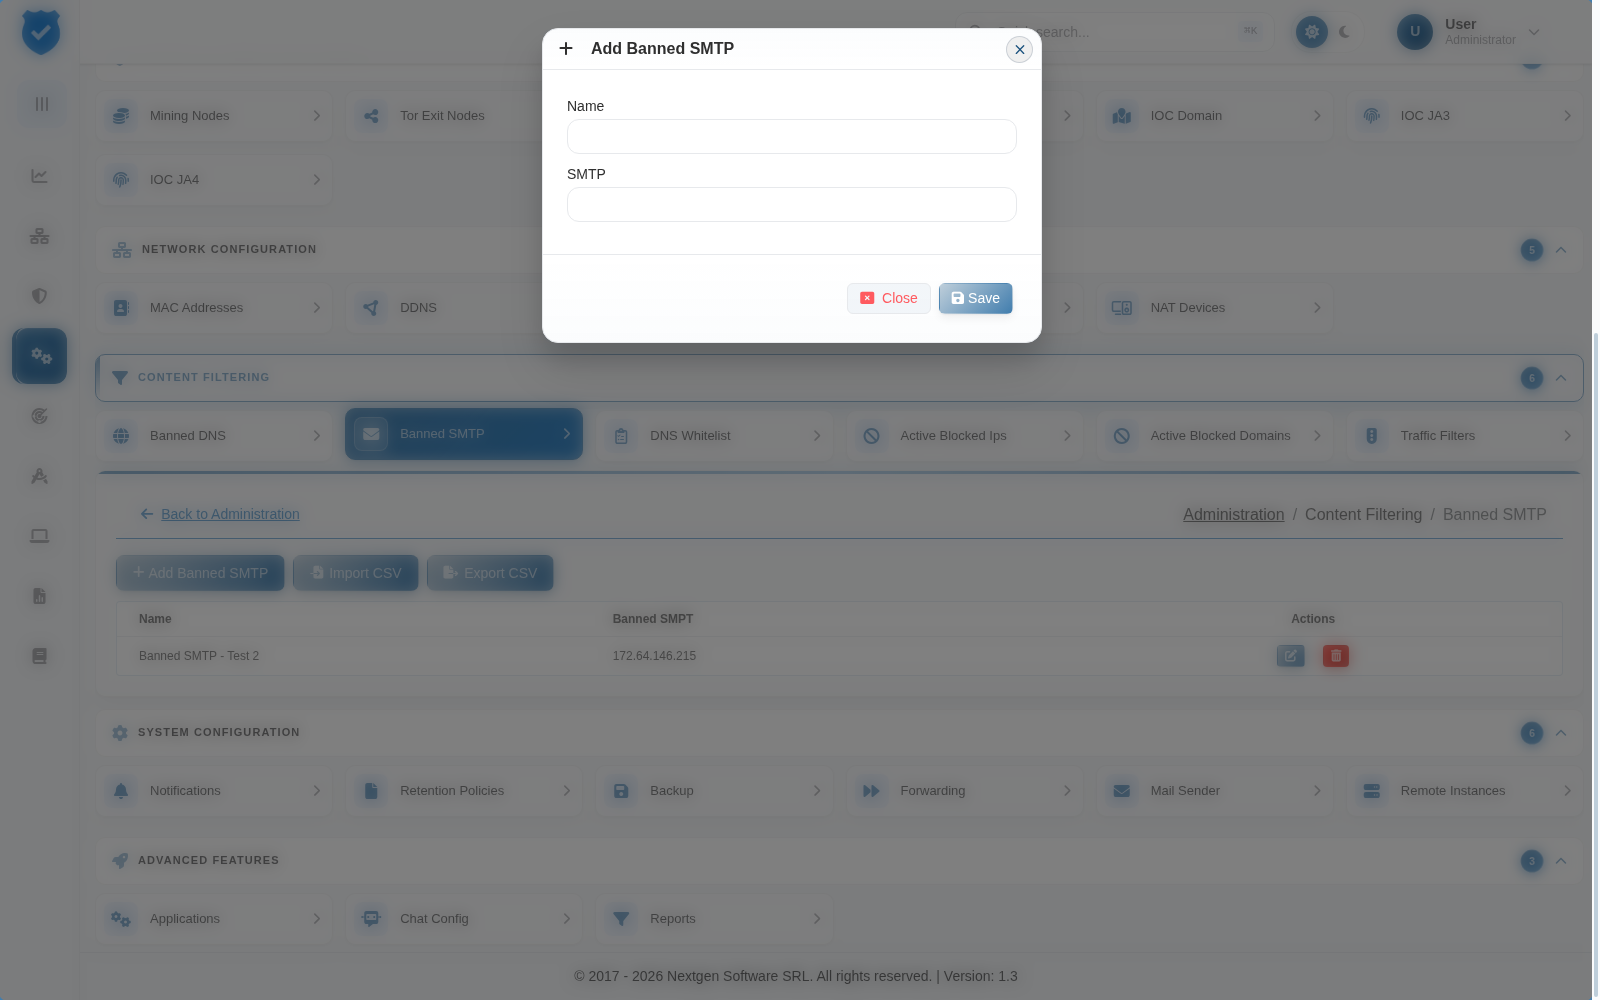
- Deleting Banned SMTP IPs:
- You can remove any banned SMTP IPs from the list.
- Exporting Banned SMTP IPs:
- You can export the list of banned SMTP IPs as a CSV file for documentation or further analysis.
IOC IPs (indicators of compromise – malware, phishing, or cyber threats)
Use this feature to block IPs identified as Indicators of Compromise (IOC), helping prevent cyberattacks.
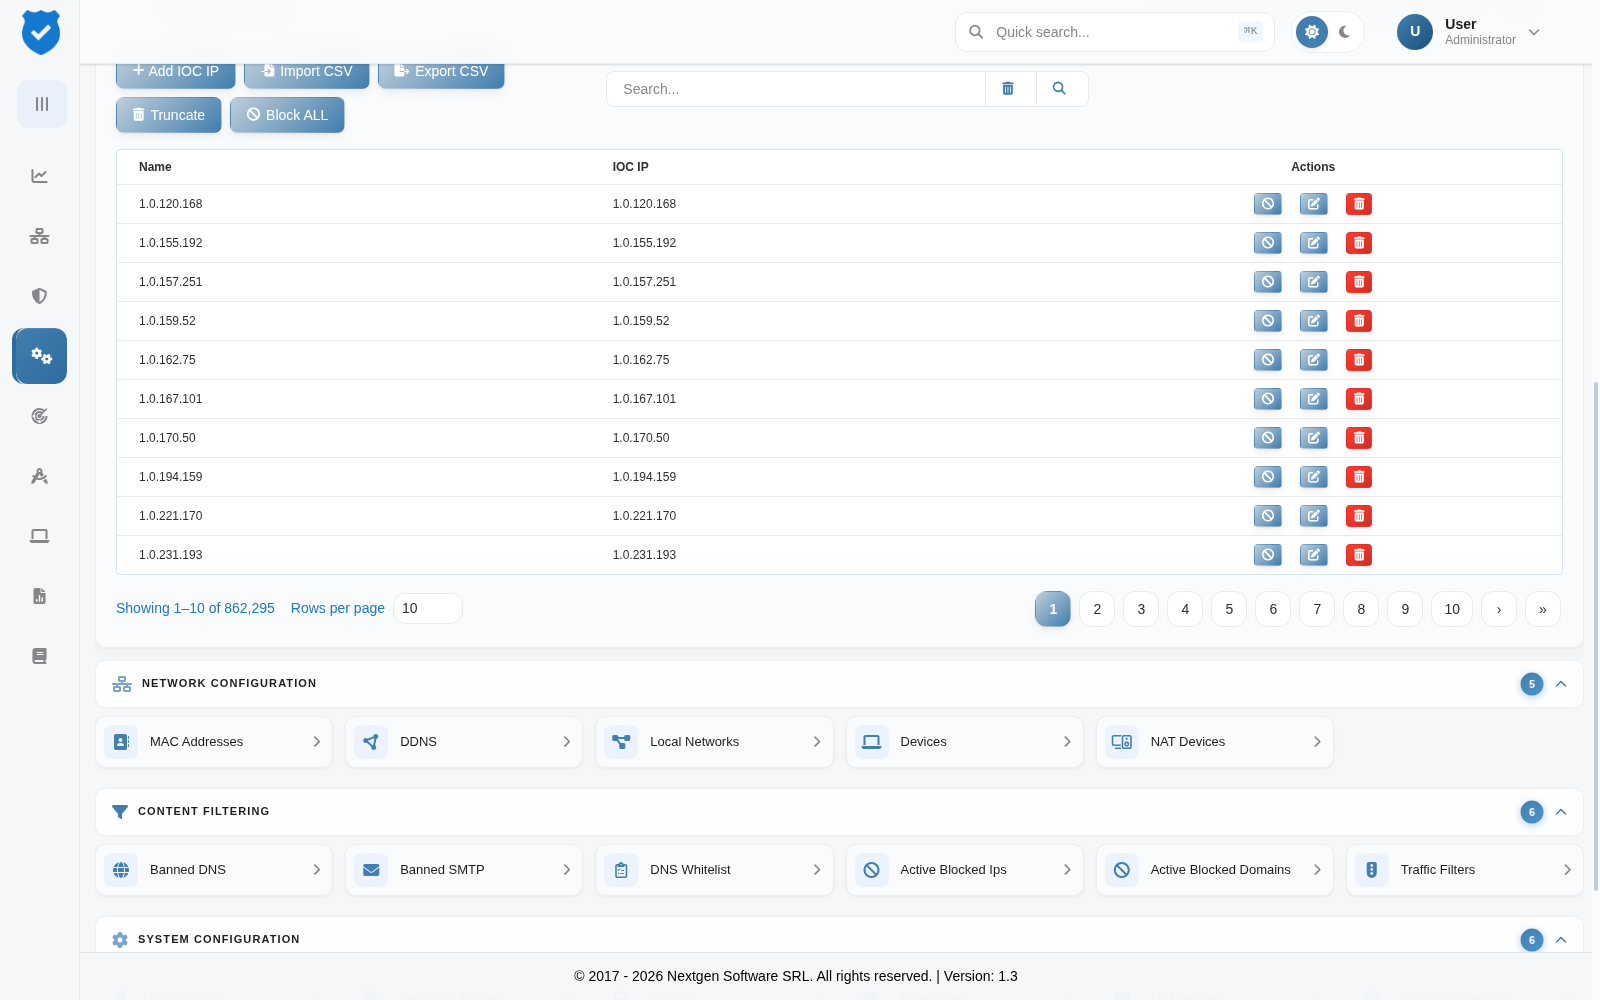
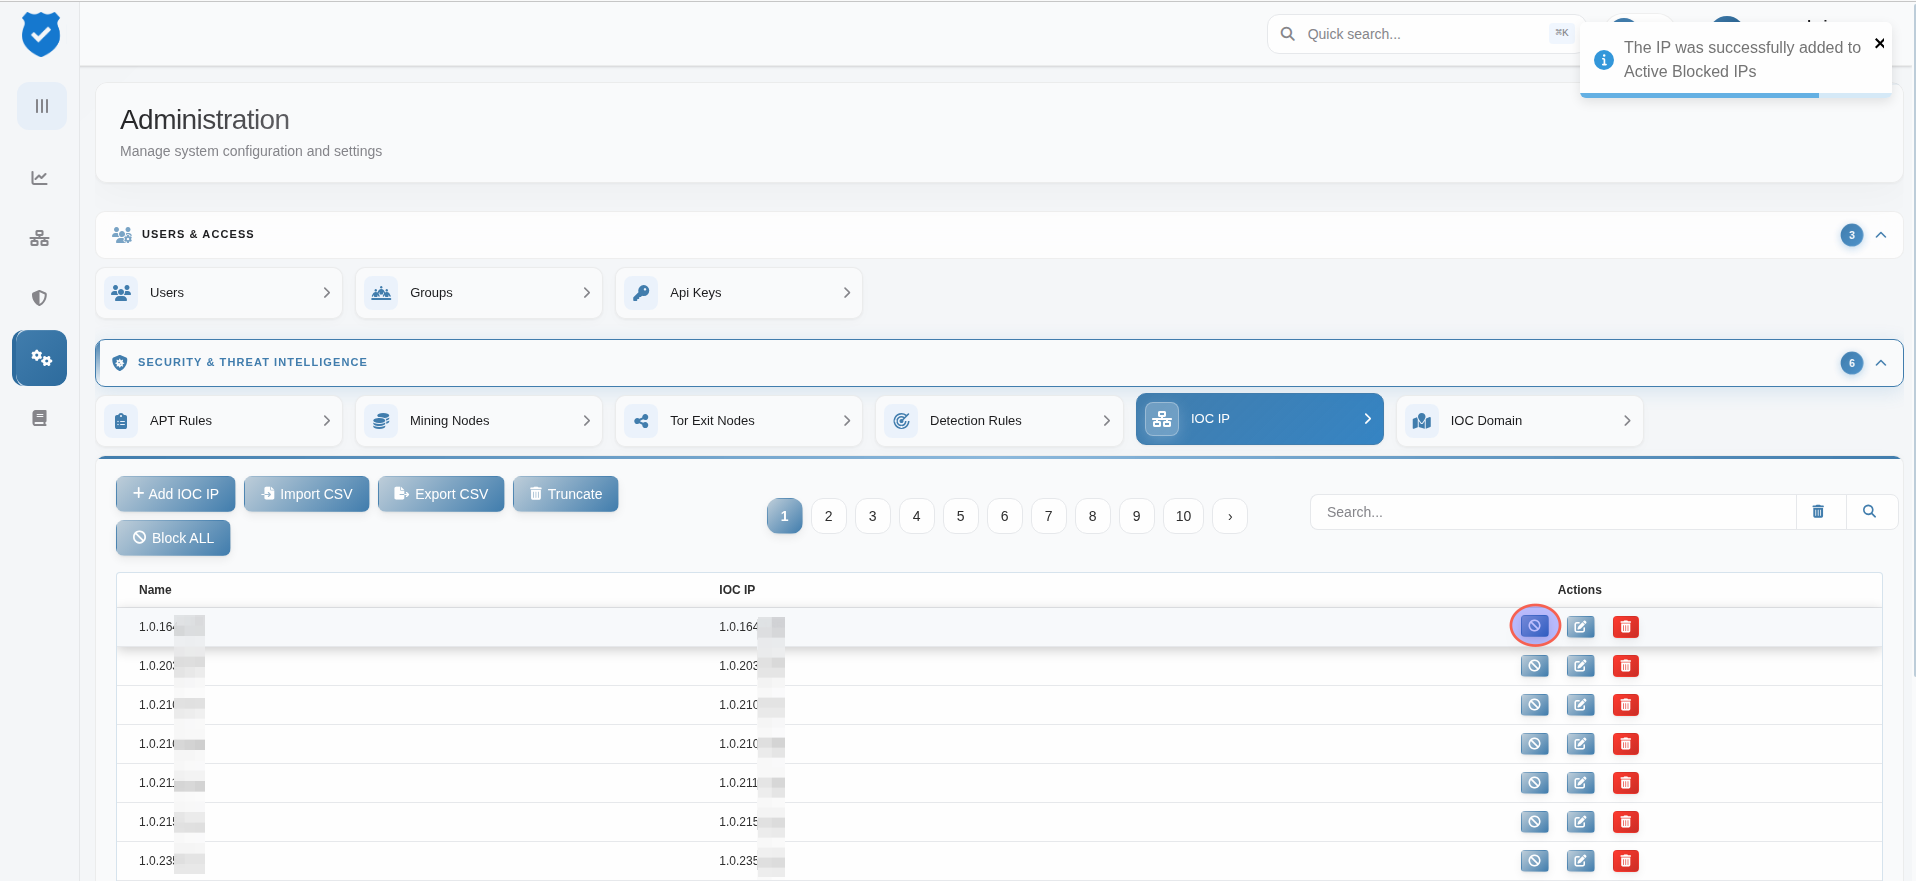
IOC IP actions:
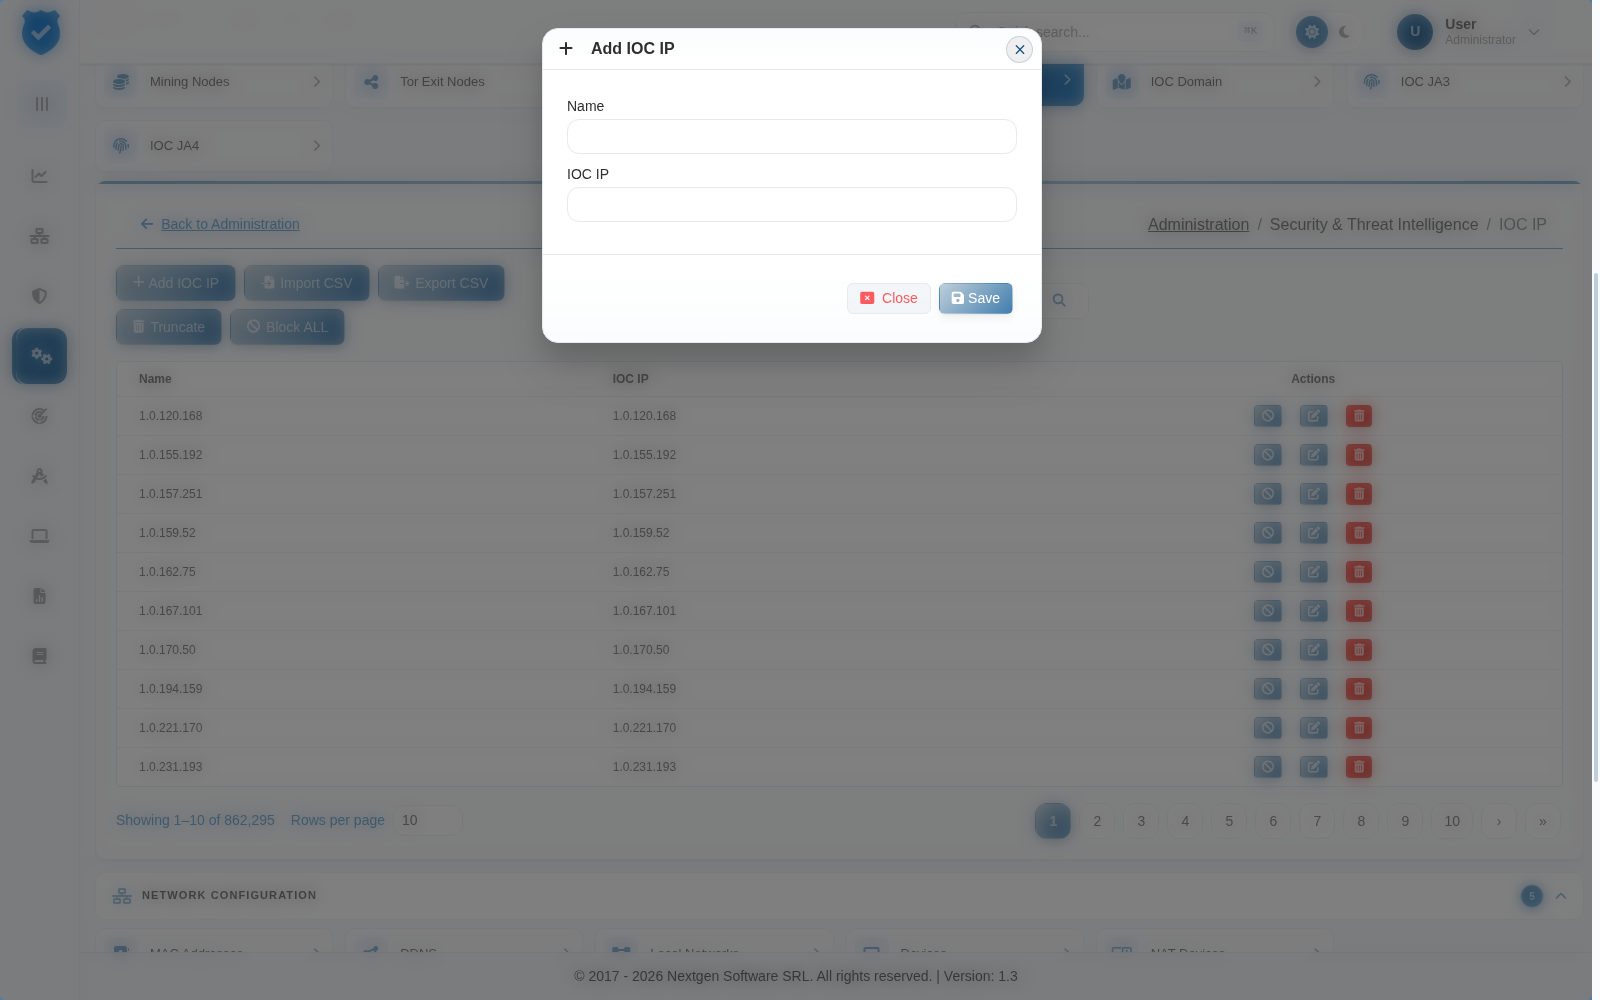
- Add a New IOC IP:
- Click on the “Add IOC IP” button.
- Name: A descriptive name for the IOC entry (e.g., “Phishing Server 01”).
- Enter the IP Address to be classified as an IOC. Only public addresses are accepted: private, loopback, link-local and other reserved ranges are rejected. The same rule applies to the Tor Exit Nodes list.
- Click “Save” to confirm the addition.
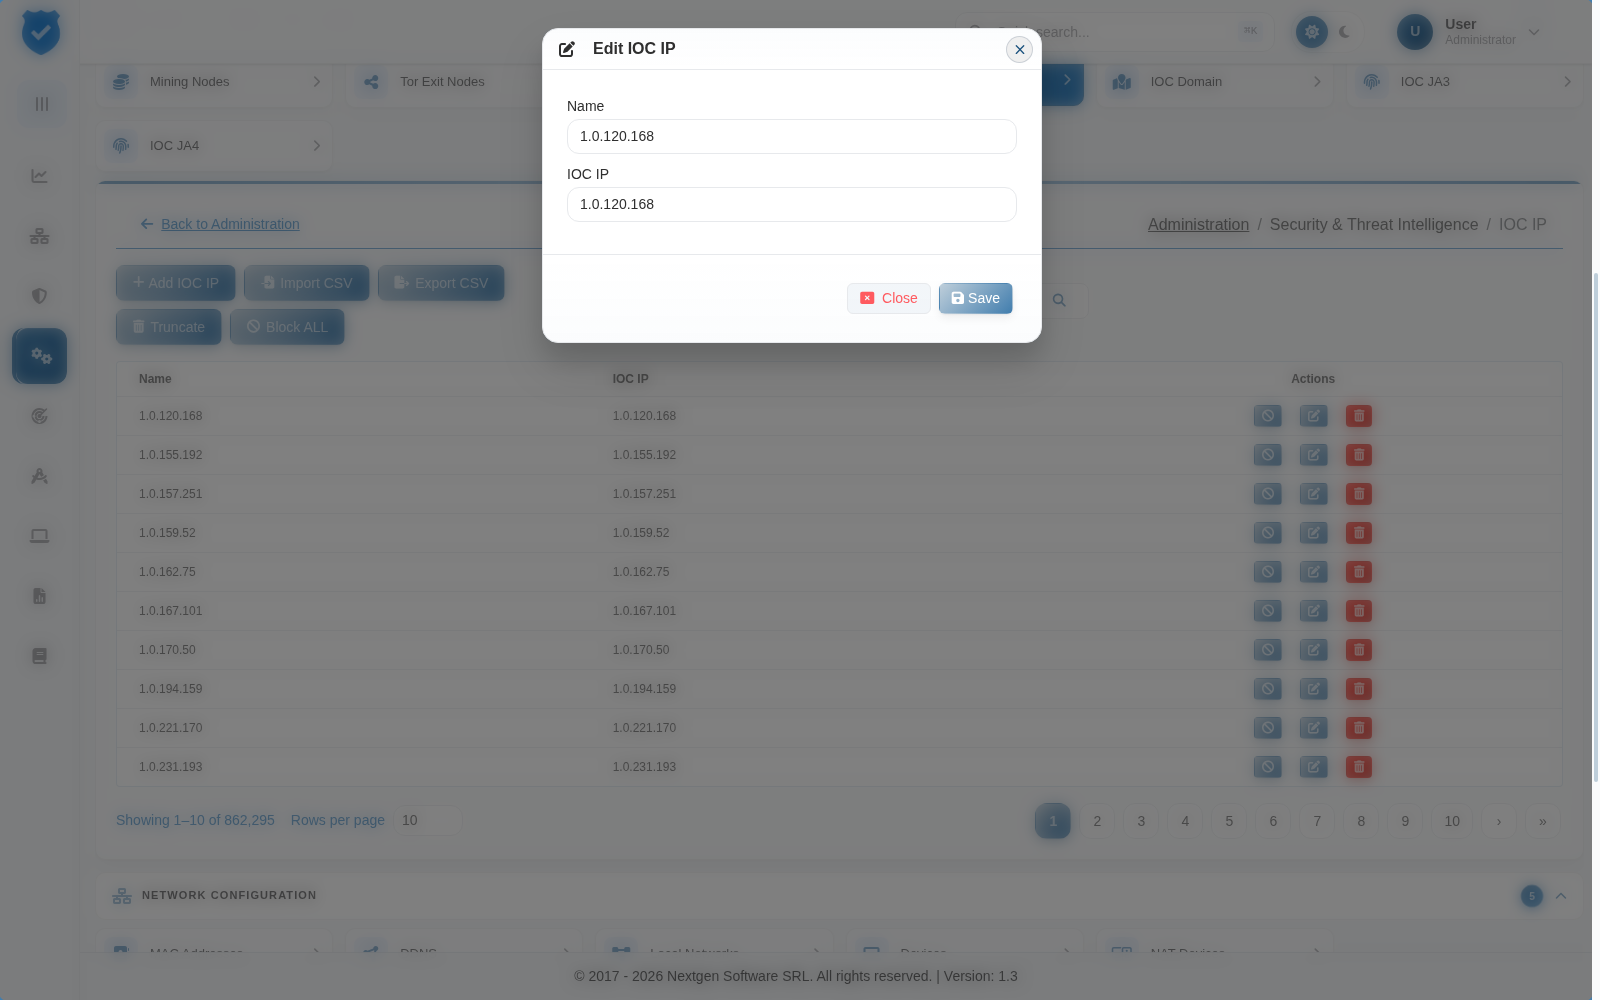
Edit an Existing IOC IP
Locate the IOC IP in the list.
Click on the “Edit” button next to the entry.
Modify the details as needed:
Update the Name.
Change the IOC IP address.
Import IOC IPs from a CSV File
Click on “Import CSV” to bulk upload IOC IPs.
Select a CSV file containing IOC IP addresses.
Ensure the file follows the correct format (
IP Address, Name).Click “Upload” and wait for the confirmation message.
Export IOC IPs for Documentation or Backup
- Click on “Export CSV” to generate a list of IOC IPs.
- Save the file for analysis or backup purposes.
Truncate the IOC List (Clear All Entries)
- Click on “Truncate” to remove all IOC IPs from the list.
- A warning message will appear - confirm the action only if necessary.
Block All IOC IPs
- Click on “Block ALL” to restrict traffic from all listed IOC IPs.
- The system will apply the changes immediately.
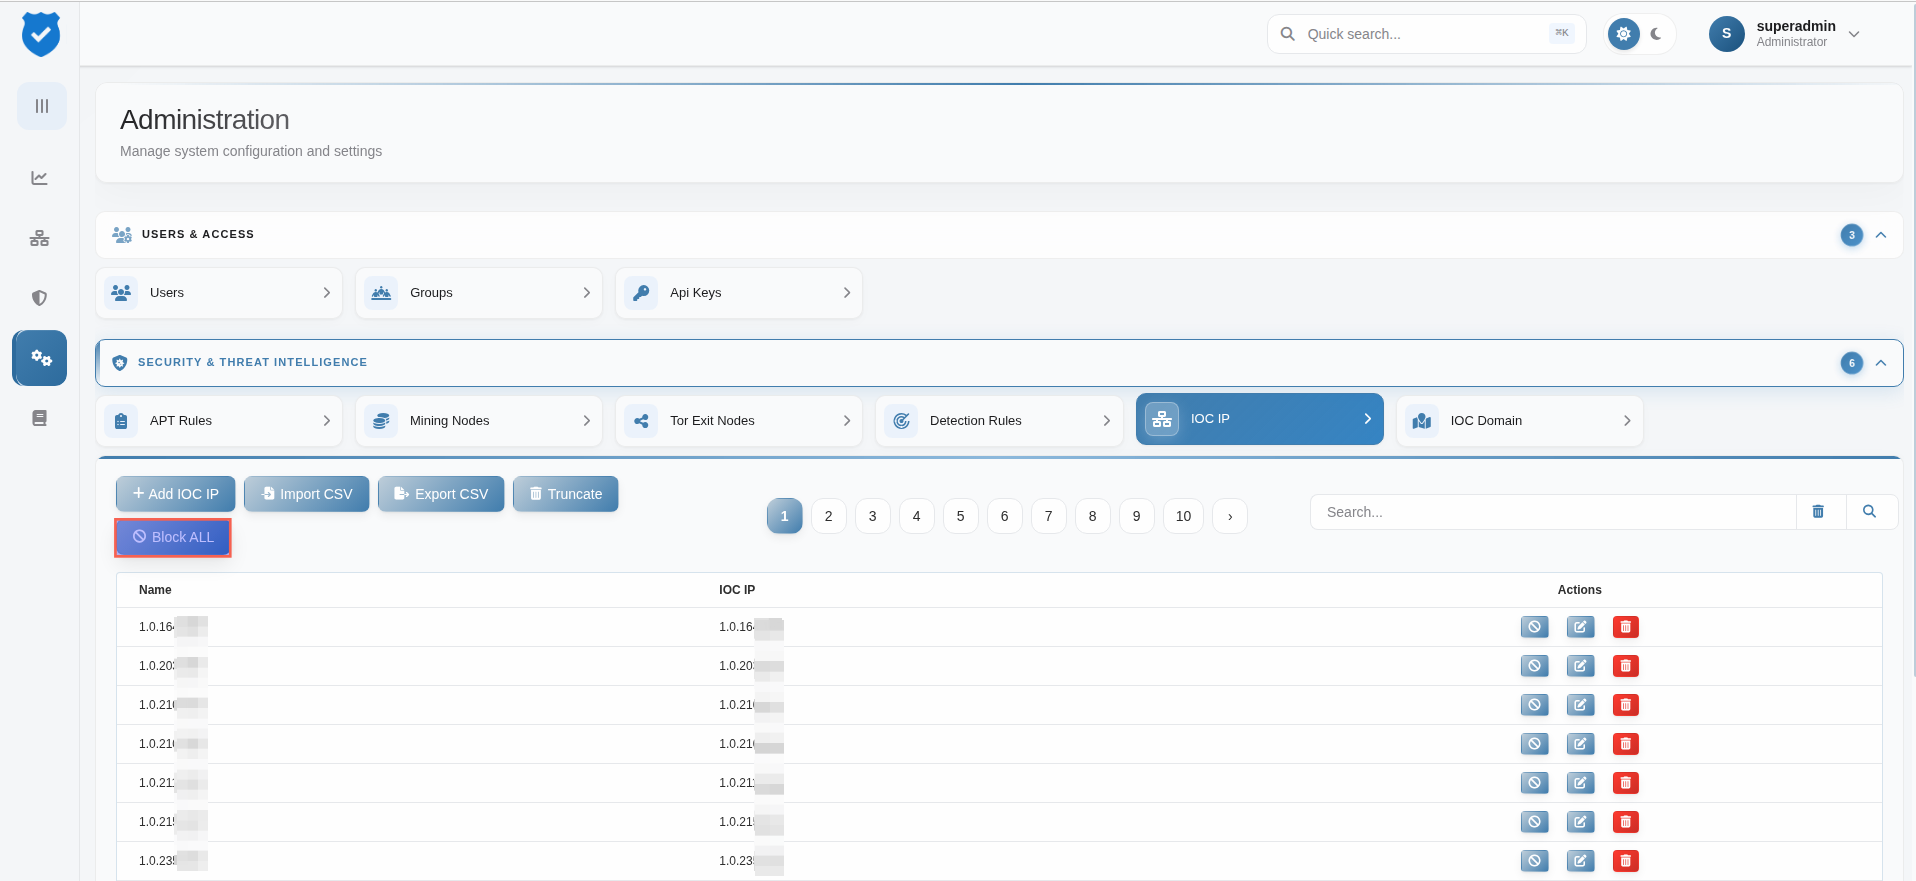
Block or Unblock Individual IOC IPs
- Locate a specific IOC IP in the list.
- Click “Block” to restrict its access.
Go back to the Administration index.
Where each list now lives
The lists described on this page are reached from the Administration hub, grouped by purpose rather than presented as one combined screen. Each list has its own page:
| List | Category |
|---|---|
| Mining Nodes | Security & Threat Intelligence |
| Tor Exit Nodes | Security & Threat Intelligence |
| IOC IP | Security & Threat Intelligence |
| IOC Domain | Security & Threat Intelligence |
| IOC JA3 / IOC JA4 | Security & Threat Intelligence |
| MAC Addresses | Network Configuration |
| DDNS | Network Configuration |
| Banned DNS | Content Filtering |
| Banned SMTP | Content Filtering |
| DNS Whitelist | Content Filtering |
Actions common to the lists
Every list supports the same basic operations - Add, Edit, Delete, Import CSV and Export CSV. Deleting an entry asks you to confirm first. The IOC lists, the DNS Whitelist and NAT Devices also have a search box above the list, with a red button that clears the search, and a Rows per page setting under the list. Import and export are the practical way to manage anything beyond a handful of entries, and to move a list between instances.
Two further actions appear on some lists and behave differently from the rest:
- Truncate - available on the IOC lists, the DNS Whitelist and NAT Devices. It removes every entry in the list in a single operation and cannot be undone. Export the list first if there is any chance it will be needed again.
- Block ALL - available on the IOC IP and IOC Domain lists. It applies an active block to every indicator in the list at once, rather than blocking entries individually. Blocks take effect immediately, so review the list before using it; you can review entries afterwards under Active Blocked IPs and Active Blocked Domains.